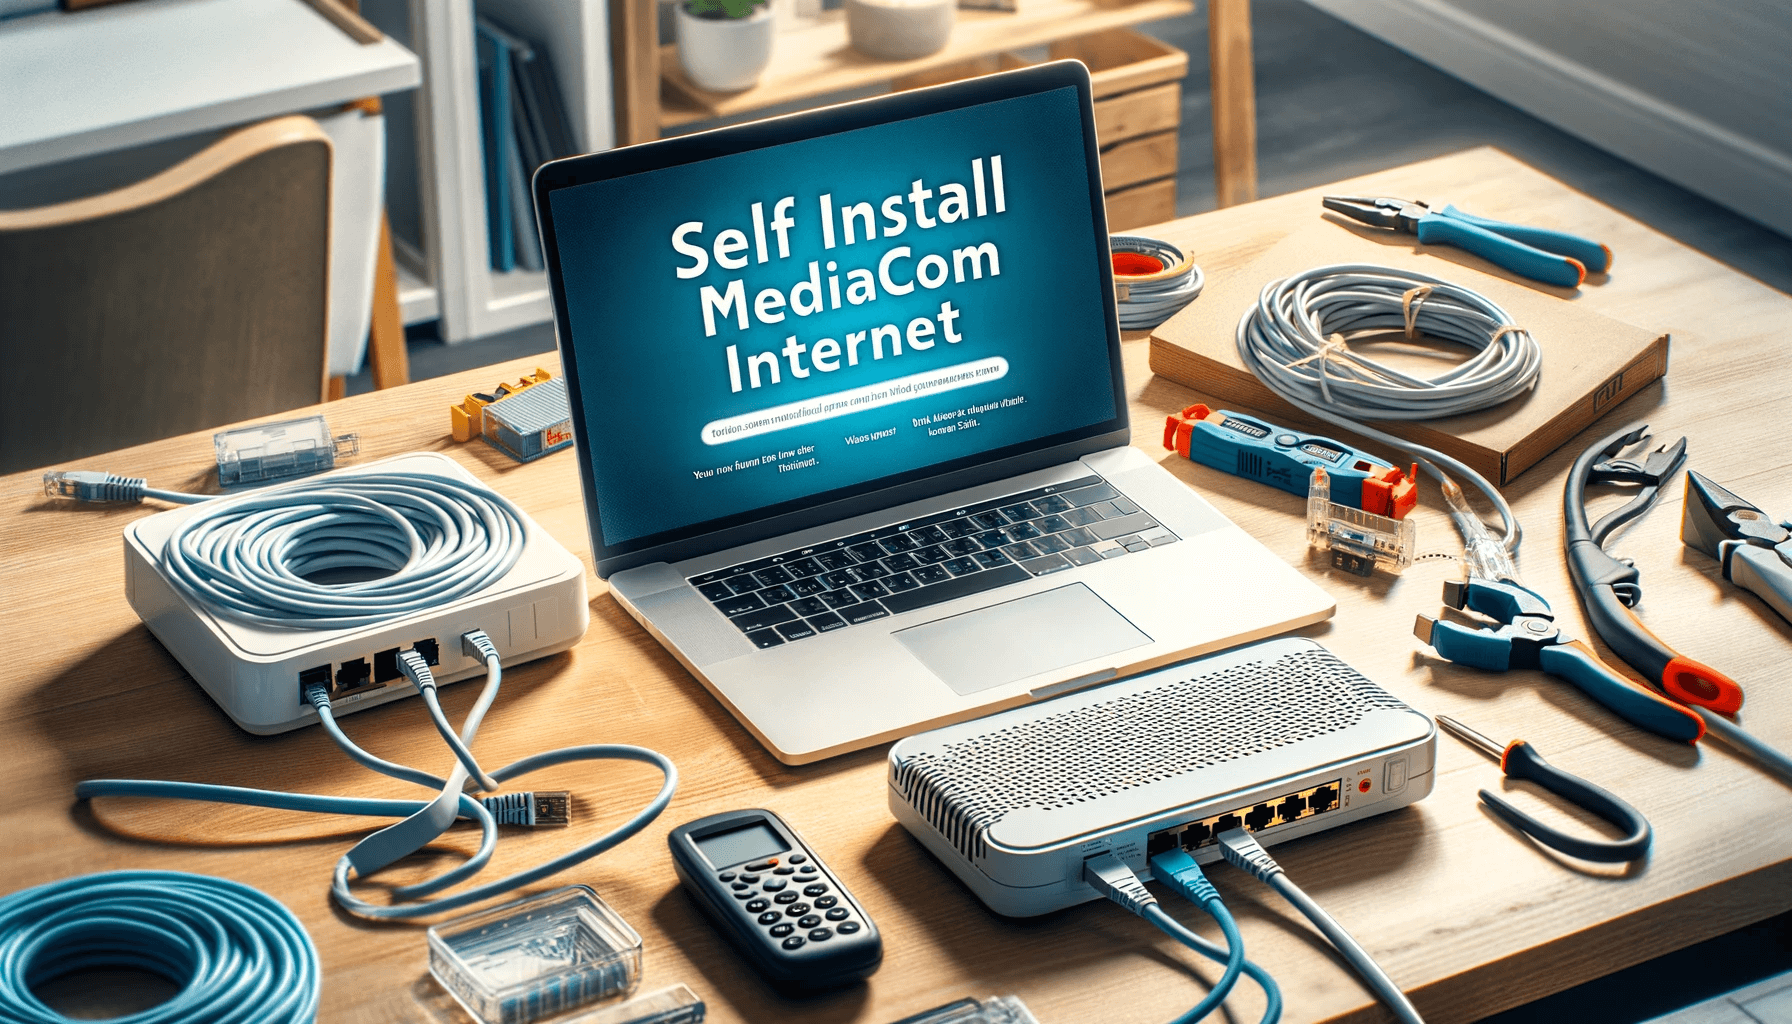
Opting to self install Mediacom internet can save you $100 on installation fees. But if you’re not tech-savvy, the process can seem daunting. Not to worry! With this step-by-step guide, you’ll be connected in no time.
What is Included in a Mediacom Self Install Kit?
When you sign up for Mediacom internet service, you’ll have the option to self install or have a professional technician install for you. If you choose self installation, Mediacom will either ship a self install kit to your home or you can pick one up at your local Mediacom store.
Here is what is typically included in a Mediacom self installation kit:
- Cable modem/router combo – This all-in-one device connects you to the Mediacom network and broadcasts a WiFi signal in your home. It may be branded with Mediacom’s name or be a third-party modem they approve.
- Coaxial cable – This thick cable connects your modem to the cable jack in your wall. It looks similar to the cable used to connect to cable TV service.
- Power cable – Supplies electricity to your modem.
- Ethernet cable – Used to connect devices like computers directly to your modem if you want a wired connection instead of using WiFi.
- Quick start guide – A pamphlet with concise steps on connecting your equipment.
If you elected to bundle home phone service with your internet plan, your self install kit will also include:
- Telephone cable – Connects your modem’s phone port to a phone jack in your wall
- Battery backup – Provides power to your home phone service for up to 8 hours in the event of a power outage
Now that you know what to expect hardware-wise, let’s go step-by-step through the installation process.
Step 1: Pick an Installation Spot
The first step is deciding where to install your modem. Here are some tips on picking an optimal location:
- Near a coaxial cable outlet – Your modem needs to connect to the existing coaxial cables that carry internet signals throughout your home. This outlet will look similar to cable TV outlets.
- Central location – Pick a spot somewhere in the middle of your home for best WiFi coverage across all your rooms.
- Elevated location – Positioning your modem router high up, such as on top of a bookshelf, improves your wireless signal.
- Avoid cramped spaces – Heat, moisture and poor airflow will impact performance. Give it some open space to breathe.
Once you’ve identified the ideal spot, it’s time to get your hardware hooked up.
Step 2: Connect the Coaxial and Power Cables
The coaxial cable will connect your modem to the internet signal being broadcast throughout your home. Here’s how to hook everything up:
- Locate a coaxial wall outlet near where you want to setup. Make sure it is working correctly by checking it with a TV or cable box if possible. If it doesn’t seem to work, you may need to schedule a technician visit to get your coaxial wiring sorted out.
- Connect one end of the coaxial cable to the coaxial “Cable” or “RF” port on the back of your modem. Make sure the cables click securely into the ports.
- Connect the other end of the coaxial cable to your wall outlet.
- Plug the power cable into your modem and an electrical outlet nearby.
- Turn on your modem and wait 2-3 minutes for the device to boot up. You’ll know it finished when the LED status lights stabilize. Refer to the included quick start guide for what the different lights signify.
If you are bundling in home phone service, also connect the phone cable between the modem and wall phone jack at this stage.
Once your modem finishes the startup process, we can get your internet service activated.
See also: 14 Best Modem Router Combo for Mediacom – Speed Up Your Internet Today
Step 3: Activate Your Mediacom Internet Service
Mediacom requires you to activate new modems on your account through an online portal. With your modem now connected and powered on, activate your internet service by following these steps:
- Step 1: Connecting Your Equipment
- Connect the Modem: Start by linking your modem to the coaxial cable and a PC using an ethernet cable. This should automatically redirect you to the activation page.
- Step 2: Account Login and Verification
- New vs Existing Customers: If you’re a new customer, you’ll need your billing account number and activation code. Existing customers will log in with their Mediacom ID.
- Important Change: Mediacom no longer uses the last 9 digits of the account number for activation.
- Step 3: Account Setup Options
- Email and Mediacom ID: You can either use your personal email address or opt to create a new Mediacom ID.
- Password and Security: Whichever option you choose, setting up a strong password and a security question is crucial for account security.
- Step 4: Service Review and Terms Agreement
- Review Your Services: Before proceeding, ensure you review the services you’re activating, including options for SSID/password and anti-virus software.
- Terms and Conditions: Accepting Mediacom’s Terms and Conditions is a mandatory step to continue with the activation process.
- Step 5: Activation Summary
- Completion Confirmation: Once the process is complete, you’ll be presented with an Activation Summary, confirming the successful setup of your services.
- The system will now attempt to recognize your modem and activate your internet service. Wait for the activation process to fully complete! This may take ~10-15 minutes. Do not disrupt service during this process or activation could fail. The lights on your modem may blink or the device may restart automatically a few times as normal parts of provisioning.
- You will receive a notification when activation finishes successfully. Your modem lights should show a solid green, blue, or white light now. Your internet is working!
If you encounter any error messages during activation:
- Double check all cable connections and power cords.
- Try rebooting your modem and repearting the activation steps after ~5 minutes.
- If issues persist, contact Mediacom technical support for activation troubleshooting at 1-855-633-4226.
With your Mediacom internet service now provisioned, let’s set up WiFi so all your devices can access the glorious internet!
Step 4: Configure Your WiFi Network
Follow these steps to set up your WiFi network name (SSID) and password:
- Using the device that completed activation, open a web browser again and visit http://mediacomtoday.speedtestcustom.com to test connectivity. Click “Go” and make sure your speeds look acceptable.
- Open a new tab and type in http://192.168.100.1. This will take you to your modem router’s admin console.
- Log in with the default credentials:
- Username: mediacom
- Password: mediacom
- Click on Wireless settings on the sidebar.
- In the Basic Wireless Settings section, set your desired Wireless Network Name (SSID) and Wireless Security Key password.
- Click Save to apply the WiFi network settings.
Your new wireless network is now configured! Reconnect your phone, laptop, or wireless device to your modem’s WiFi using the new SSID and password you just set.
Enjoy streaming video, web browsing, and more wire-free! Continue reading if you need help connecting devices or troubleshooting issues with your self-installed Mediacom internet.
Connecting Your Devices to Your WiFi
The process for connecting phones, laptops, tablets, streaming sticks, smart home gadgets and gaming consoles is largely the same across platforms:
- Open your device’s WiFi/network settings screen via the settings app or system preferences pane.
- Select the WiFi network name (SSID) you chose during your modem’s setup.
- When prompted, enter the WiFi password you configured.
- Your device should now connect to your home network! Internet connectivity is a go.
Having trouble connecting devices after self installing Mediacom internet service at home? Follow some of these tips to resolve issues:
- Reboot unresponsive devices – Completely power down then restart gadgets unable to join WiFi
- Double check credentials – Validate the exact capitalization for SSID and password
- Check modem router placement – Devices too far or blocked by walls/construction may get weak signal
- Contact Mediacom support at 1-855-633-4226 for advanced troubleshooting
Troubleshooting Self Installation Issues
While the overall process is straightforward for tech-savvy folks, snags can happen during self installation requiring some additional troubleshooting:
Modem Auto-Detect Failure: If the modem isn’t automatically detected, ensure all connections are secure and try restarting the process.
Activation Failures: Post-terms agreement, if activation fails, check your network settings or contact Mediacom support for assistance.
Incompatible Modem Warnings: Mediacom provides links to lists of compatible modems in case your current one doesn’t support the subscribed speed or lacks necessary features.
Internet activation fails
First, reboot your modem and try restarting the activation steps from your browser. Verify all coaxial and power cables are seated securely on both ends. If activation will still not succeed, there may be an issue with the signal from Mediacom reaching your modem:
- Ensure your home has an active Mediacom internet service plan already set up. Self installation often assumes an underlying base-level functional connection exists.
- Try connecting your modem to different coaxial wall outlets in other rooms in case the cabling is damaged.
- You can call 1-855-633-4226 to have Mediacom technical support assess connectivity remotely. They may create a ticket to dispatch a service technician if necessary to diagnose wiring problems or faulty equipment if they cannot activate service for you remotely.
No internet connectivity
If your modem activates correctly but your devices show no signs of internet connectivity during use:
- Reboot your modem and connected gadgets, then try again. This often resolves temporary network glitches.
- For WiFi issues, double check your wireless password matches what is set in your modem. Also try moving devices closer to the modem temporarily as a quick test.
- Plug your computer directly into your router with an ethernet cable, then launch a browser to http://mediacomtoday.speedtestcustom.com. Click Go and check if speeds/connectivity improve when wired. This helps determine if you just need to adjust router placement or settings versus broader activation problems.
- If internet connectivity tests fail even when directly wired, call Mediacom support at 1-855-633-4226 for troubleshooting.
Slow internet speeds
You completed self installation succesfully but your internet performs slower than expected by showing crawling speeds:
- Re-run a wired speed test by connecting your computer directly to the modem with ethernet and visiting http://mediacomtoday.speedtestcustom.com. Compare these wired results to your normal WiFi speeds for perspective. Wired tests better reflect what the maximum throughput you are actually provisioned for. If WiFi tests show slower speeds, adjusting your router placement, settings, or upgrading equipment may help rather than reliance purely on what Mediacom provisions your connection for.
- Check if you are on Mediacom’s 200mbps plan but running outdated modem equipment suited for only 100mbps connections. Renting or purchasing approved, upgraded modem equipment better suited for your speed tier improves performance.
- During peak evening usage hours like 7-11pm local time, temporary slow downs impact all ISPs as overall neighborhood usage spikes. Try testing at alternative times to see if speeds improve and are satisfactory.
- Contact Mediacom support about speed or equipment optimization recommendations if slowdowns persist during off-peak hours on consistently performant wired tests pointing to provisioning rather than your home network setup.
Professional Installation vs Self Installation
While we focused this guide on self installing Mediacom internet to save money on activation fees, professional installation is still an option to consider as well:
Professional Installation
- Costs $99 activation fee but this is often waived for customers who order online
- Technician will assess home connectivity, conceal wiring if necessary, optimize placement, perform activation, and ensure working service before leaving
- Convenient for those less comfortable navigating technical steps independently
Self Installation
- Completely free activation
- Requires moderate technical comfort following written instructions for hardware setup, activation, and troubleshooting
- Allows more control over equipment selection and placement based on home layout
Conclusion
Self installing Mediacom only takes 3 primary steps:
- Connecting the coaxial and power cables
- Activating internet service through Mediacom’s online portal
- Configuring your WiFi settings
Combined with connecting your wireless gadgets, the entire process typically wraps up in about an hour without paying professional installation fees.
While snags can occur, this guide covered all the tips, steps, and troubleshooting needed to get setup without needing a technician. Now with your Mediacom internet service broadcasting throughout your smart home, enjoy streaming your favorite shows and music or competitive online gaming!
Frequently Asked Questions
Here are answers to some common questions about self-installing Mediacom home internet services:
Do I have to self install or can Mediacom send a technician?
You have a choice – Mediacom allows self installation to save on activation fees but offers traditional professional installation for $99.
What if I can’t get self installation working?
If followed correctly but you still can’t get service activated or working, contact Mediacom technical support at 1-855-633-4226 for troubleshooting. Dispatching technicians for in-home repairs is free if they identify issues with faulty Mediacom wiring or equipment. Customers pay service fees if problems traced to their own wiring or customer-owned equipment.
How long does Mediacom self installation take?
Once you have the modem wired up and powered on, the activation and WiFi configuration process typically takes 30-45 minutes. Connecting individual devices to WiFi can take 5-10 minutes per device afterwards.
Where do I return Mediacom equipment if I cancel service later?
You can return your modem and other rental equipment to your local Mediacom store or request Mediacom mail you a prepaid return kit. Ensure you pack everything up securely to avoid being charged free for unreturned items.
- Telecom Network Infrastructure: Complete Guide to Components & Design - January 6, 2026
- TP-Link TL-SG108E vs Netgear GS308E: Budget Smart Switches - January 5, 2026
- MikroTik CRS305-1G-4S+ Review: The Ultimate Budget SFP+ Switch Guide - December 25, 2025


