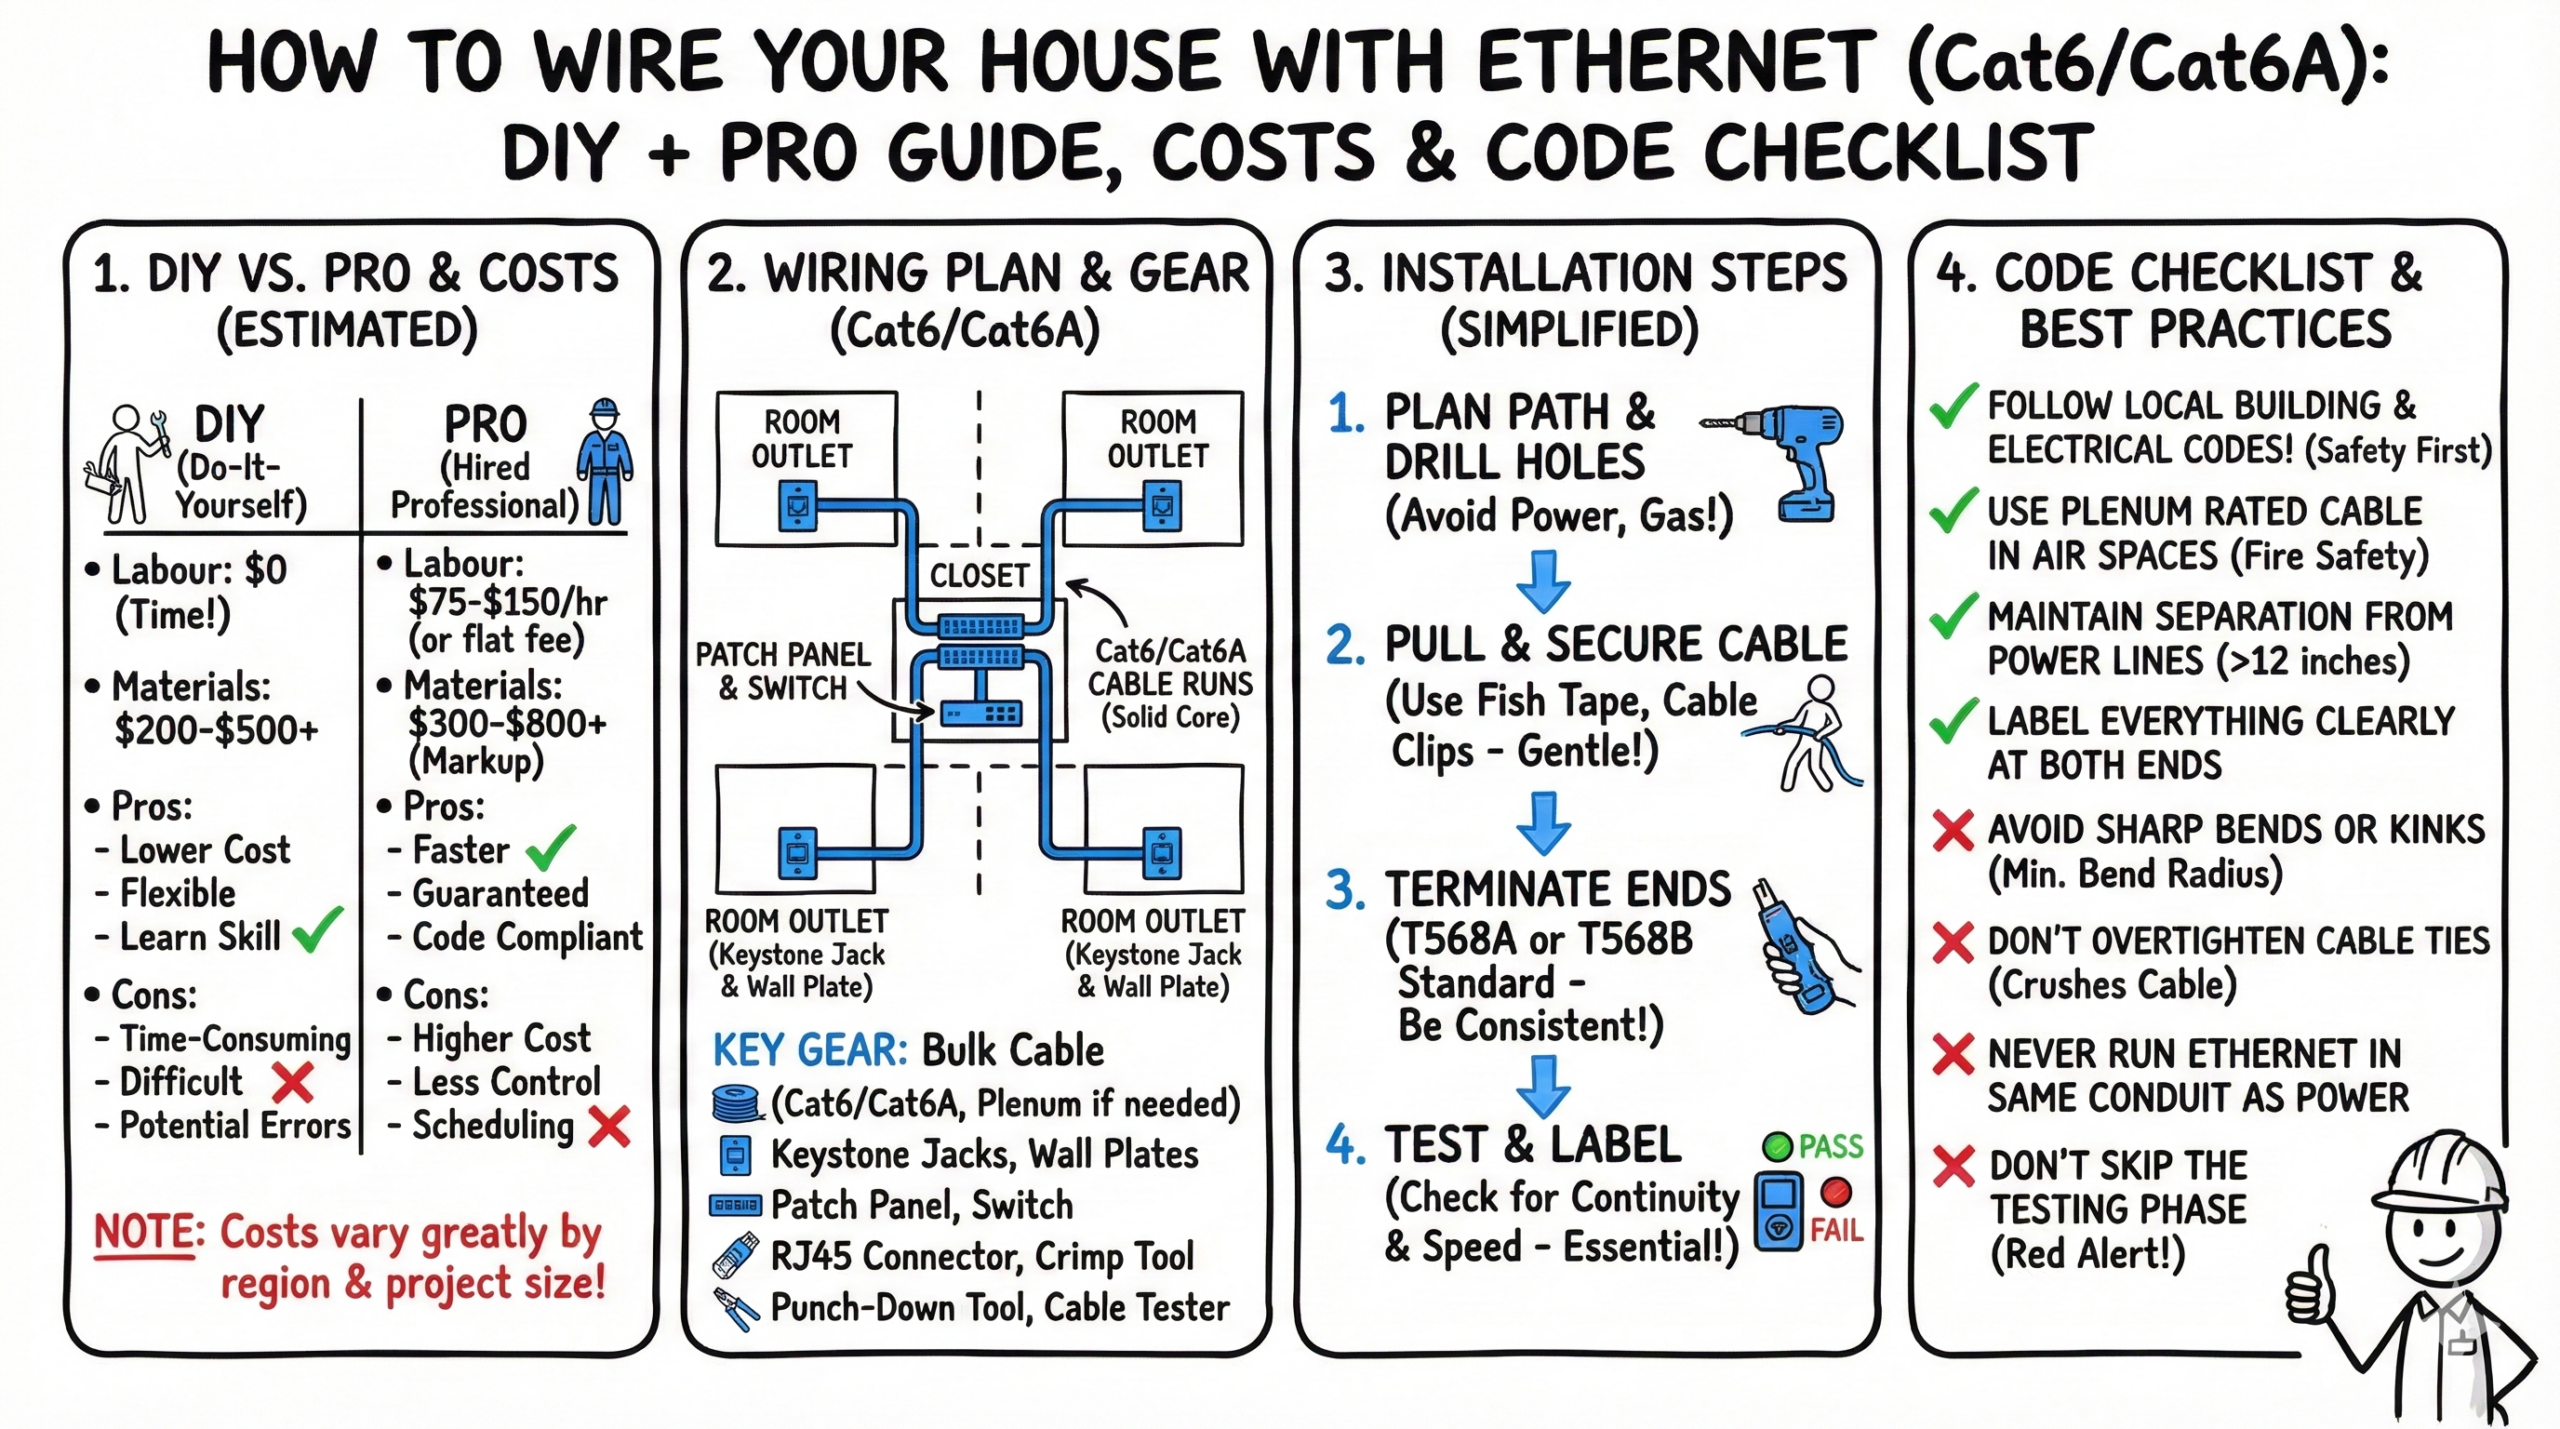
To wire your home with network cables, start by planning your layout. Sketch a simple floor plan to visualize where you’ll need connections. Next, choose the right cables; Cat6 or Cat6A are great for high speeds depending on run length and future needs. Gather tools like an Ethernet crimping tool and a cable tester for successful installation. Install network ports in strategic locations, ensuring you have at least two in each room. After connecting everything, test for any issues. Label your cables for easy troubleshooting later on.
This process can seem tricky, but stick with it, and you’ll enjoy faster, more reliable connections. There’s more to discover about optimizing your setup!
Key Takeaways
- Plan your network layout by sketching a floor plan and determining optimal locations for Ethernet ports, allowing for future flexibility.
- Choose the appropriate Ethernet cable: Cat6 supports 1 Gbps to 100 m and can do 10 Gbps on shorter runs; Cat6A supports 10 Gbps to 100 m. Use solid bare copper, UL-listed cable.
- Gather essential tools like a crimping tool, punch-down tool, cable tester, and label maker for efficient installation and troubleshooting.
- Use a star topology: home-run each cable to a central switch or patch panel. If you need more ports in a room, add a small switch there.
- Test all connections using a cable tester, ensuring proper functionality before finalizing connections and securing wall plates for a clean finish.
DIY vs. Professional Installation
Wiring your home can be a DIY project, but it requires some technical knowledge and hands-on skills. Here’s a breakdown of the pros and cons:
DIY:
- Pros:
- Cost-effective
- Greater control over the process
- Sense of accomplishment
- Cons:
- Time-consuming
- Requires technical expertise
- May involve working in tight spaces or dealing with existing wiring
Professional Installation:
- Pros:
- Expertise and experience
- Saves time and effort
- Professional finish
- Cons:
- More expensive
- Less control over the process
Decision Time: If you’re comfortable with basic wiring and have the time, DIY installation can be a rewarding experience. However, if you’re unsure about your skills or prefer a hassle-free solution, hiring a professional is the way to go.
Planning Your Network Layout
When planning your network layout, how can you confirm that your setup meets both current and future needs? Start by sketching a simple floor plan. This will help you visualize where your Ethernet connections should go. Aim for at least two ports in each spot to allow flexibility for future devices.
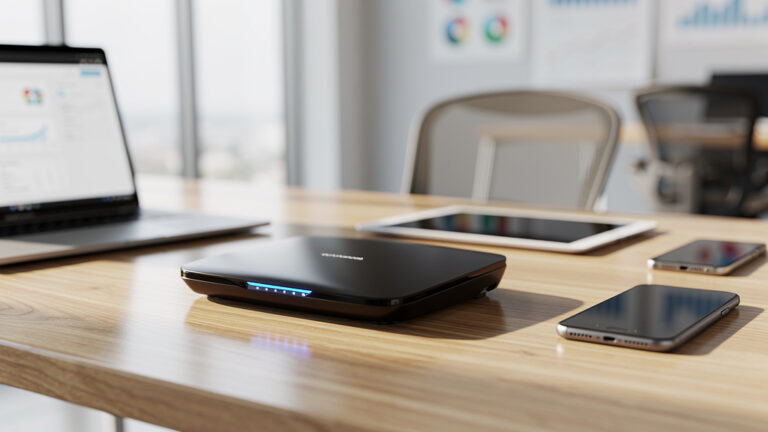
Next, think about the ideal placement for your router and switches. A centralized location is best, as it maximizes coverage and minimizes long cable runs. This approach helps maintain signal quality and reduces the risk of interference.
When planning your cable routing, look for accessible areas like attics or crawl spaces. Use dedicated low-voltage pathways and maintain separation from electrical wiring per local code. Ethernet channels have a maximum length of 100 meters (90 m permanent link plus up to 10 m patch cords), so plan runs accordingly for Cat5e, Cat6, or Cat6A.
Lastly, use tools like the Unifi Design Center to assist your planning. You can overlay your floor plan, effectively placing network equipment and evaluating required cable lengths.
With careful planning, you’ll be set for both today and whatever future device needs you may have!
Choosing the Right Ethernet Cable
After you’ve mapped out your network layout, the next step is choosing the right Ethernet cable to support your setup. There are several types of Ethernet cables, but Cat5e and Cat6 are the most suitable for home use.
Cat5e supports speeds up to 1 Gbps for channels up to 100 meters (90 m permanent link plus up to 10 m patch cords). Cat6 can handle 1 Gbps to 100 meters and typically supports 10 Gbps for runs up to about 55 meters, depending on installation conditions.
For the best performance, always use solid bare copper, UL-listed cables (23–24 AWG) instead of CCA (Copper-Clad Aluminum). CCA can cause power and heat problems, especially with Power over Ethernet (PoE). For PoE (802.3af/at/bt), consider bundle size and ambient temperature to avoid overheating.
Ethernet cables come in different categories, each with its own speed and bandwidth capabilities. Here’s a quick overview:
| Category | Bandwidth | Max Speed | Typical Use |
|---|---|---|---|
| Cat5e | 100 MHz | 1 Gbps to 100 m | General home networking |
| Cat6 | 250 MHz | 1 Gbps to 100 m; 10 Gbps to ~55 m | Higher bandwidth applications, short 10G runs |
| Cat6A | 500 MHz | 10 Gbps to 100 m | 10 Gigabit Ethernet, longer runs, future-proofing |
| Cat7 | 600 MHz | 10 Gbps | ISO/IEC spec; uncommon in U.S. homes—use Cat6A instead |
| Cat8 | 2000 MHz | 25/40 Gbps to 30 m | Short data-center/server interconnects; not typical for residential |
If you want to future-proof your network, consider Cat6A cables. They support 10 Gbps speeds up to 100 meters and offer higher bandwidth at 500 MHz.
If you’re planning outdoor installations, choose the correct ratings: use CMR (riser) or CMP (plenum) for in-wall/air-handling spaces as required by code. For outdoors, use UV-resistant, gel-filled direct-burial cable or run rated cable through conduit.
Finally, for effective cable management, think about using bulk Ethernet cables. These come in spindles of 1000 feet, letting you create custom lengths and save money on larger installations.
Required Tools for Installation
To ensure a smooth installation of your home network, you’ll need a few essential tools that make the process efficient and effective. Having the right equipment will help you tackle everything from connecting cables to testing your network’s integrity.
Here’s a quick list of must-have tools for your installation:
- Inline Couplers: Avoid in permanent in-wall runs; maintain a single, continuous cable per run. Use only for temporary patching.
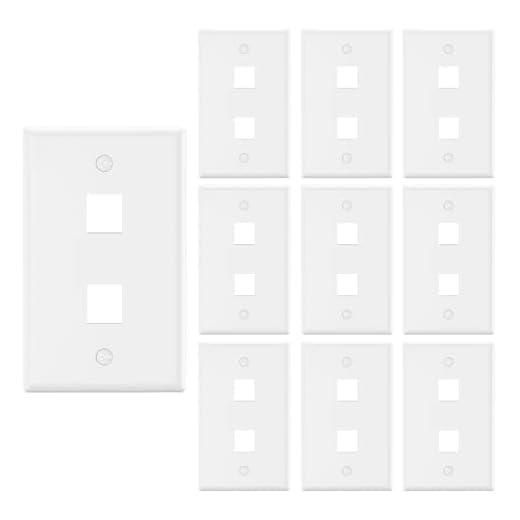
- Keystone Wall Plates: Provide a clean and professional finish for your network outlets.
- Keystone Jacks: Connect your Ethernet cables to the wall plates.
- Ethernet crimping tool: This is necessary for attaching RJ45 connectors (8P8C) to the ends of your network cables.
- Cable Strippers: Used to remove the outer jacket and insulation from Ethernet cables.
- Punch-down tool: You’ll use this to secure wires into jacks or patch panels, ensuring a stable connection.
- Cable tester: It’s vital for verifying that each connection works properly, maintaining ideal network speeds.
- Label maker: This handy tool helps you identify cables at both ends, simplifying troubleshooting and future modifications.
These are some of the best tools I recommend.

![Cable Matters [UL Listed] 25-Pack 10Gbps Cat6 Keystone Jacks, RJ45 Keystone Jack, Ethernet Keystone Jack in White with Keystone Punch-Down Stand for Patch Panel and Wall Plate](https://m.media-amazon.com/images/I/41Jj3fmaioL._SS520_.jpg)


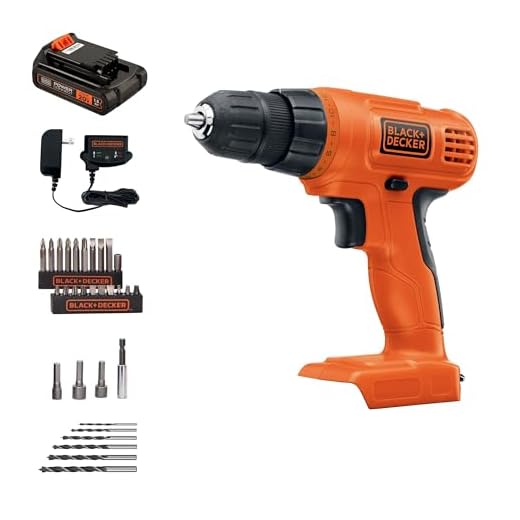


In addition to these, you may also need basic DIY tools like drills and screwdrivers to mount wall plates and gang boxes.
If you’re running multiple cables, a keystone jack holder can keep things organized.
And don’t forget, using a Paddle bit can make drilling larger holes for cable runs much easier.
With these tools in hand, you’ll be well on your way to wiring your home!
Wiring Your Home: A Step-by-Step Guide
Now that you’ve planned your network, it’s time to start wiring. Here’s a detailed guide:
1. Running Cables
- Choose Your Route: Determine the best route for running cables through your home. Use dedicated low-voltage pathways or conduit designed for data cabling; do not share conduit with electrical wiring.
- Measure and Cut: Before running the cable, measure the distance to avoid wastage and ensure you have enough cable for each run. Leave a couple of feet extra on each end for terminating the wires.
- Install Cables: Carefully run the cables along your chosen route. Use cable ties or clips to keep them organized and prevent tangling.
- Avoid Long Runs: Keep each channel at or under 100 meters and avoid sharp bends or tight bundles that can impact performance, especially with PoE.
Wiring Techniques:
- Daisy-Chain Method: Not recommended for Ethernet cabling. Instead of linking devices in series, run each location back to a central switch or patch panel.
- Star Topology: Give each device or room its own dedicated cable back to the router/switch. If more ports are needed at a location, add a small Ethernet switch there.
2. Installing Wall Plates and Jacks
- Prepare the Wall: Cut the appropriate size hole in the wall for the wall plate.
- Install the Keystone Jack: Insert the keystone jack into the wall plate and secure it.
- Terminate the Cable: Use the cable stripper to remove the outer jacket and insulation from the Ethernet cable.
- Connect the Wires: Carefully connect the wires to the keystone jack according to the wiring diagram (T568A or T568B).
- Secure the Jack: Use the punch down tool to secure the wires in the keystone jack.
- Test the Connection: Use the cable tester to verify the connection and identify any faults.
- Install the Wall Plate: Mount the wall plate to the wall.
3. Connecting to the Network
- Connect to Router/Switch: Connect the other end of the Ethernet cable to your router, switch, or patch panel.
- Configure Network Settings: Access your router’s settings to configure your network, including assigning IP addresses and setting up security features.
- Label Cables: Label each cable at both ends to simplify troubleshooting and future modifications.
- Document Network Layout: Create a diagram or document that shows the layout of your network, including cable runs, device locations, and IP addresses.
Important Note: Connect your modem to the router’s WAN (Internet) port, then connect a router LAN port to the switch uplink (or directly to devices). This is the standard and secure topology for home networks.
Troubleshooting and Optimization
Even with careful planning and installation, you may encounter network issues. Here’s how to troubleshoot and optimize your wired network:
1. Testing Your Network
- Use a Cable Tester: A cable tester can help you identify problems with your Ethernet cables, such as shorts, opens, or crossed wires.
- Check Connections: Ensure all cables are securely connected to the router, switch, wall jacks, and devices.
- Restart Devices: Sometimes, a simple restart of your router, modem, or devices can resolve connectivity issues.
2. Optimizing Network Performance
- Update Firmware: Keep your router’s firmware up to date to ensure optimal performance and security.
- Adjust Security Settings: Configure your router’s firewall and security settings to protect your network from unauthorized access.
- Optimize Router Placement: Place your router in a central location in your home to maximize signal coverage.
- Use Quality of Service (QoS): QoS allows you to prioritize network traffic for certain applications, such as gaming or video streaming, ensuring a smooth experience.
Advanced Topics and Considerations
For those seeking to take their home network to the next level, here are some advanced topics to explore:
1. Power over Ethernet (PoE)
PoE allows you to power devices like security cameras and wireless access points directly through the Ethernet cable, eliminating the need for separate power adapters. This simplifies installation and reduces clutter.
2. Home Network Security
- Strong Passwords: Use strong and unique passwords for your router and other network devices.
- Firewall: Enable your router’s firewall to block unauthorized access to your network.
- Encryption: Use WPA2 or WPA3 encryption to secure your Wi-Fi network, even if you primarily use wired connections.
- VPN: Consider using a VPN to encrypt your internet traffic and enhance your privacy.
3. Future-Proofing Your Network
- Invest in High-Quality Cables: Choose Cat6A for 10G to 100 m. Cat6 is fine for 1G to 100 m and short 10G runs.
- Plan for Expansion: Install extra network outlets or run longer cables to accommodate future devices and upgrades.
- Stay Informed: Keep up with recognized standards like TIA-568.2-D and IEEE 802.3 PoE to ensure your network remains current and compliant.
Best Practices for Home Networking
When setting up your home network, following best practices can greatly enhance performance and reliability. Start by running dedicated Ethernet cables to each device. If you need to connect multiple devices, use a switch instead of splitting connections. High-quality Cat6 cables are a smart choice—they support gigabit speeds to 100 m and can handle 10G on shorter runs; Cat6A supports 10G to 100 m.
To maintain maximum network speed, keep consistency in your cable types and components. The overall channel will perform to the lowest category part. Plan for future expansion by estimating how many extra Ethernet ports you might need. Installing additional cables now can save you from costly retrofitting later.
Organizing your home network wiring with a patch panel can help you manage multiple connections easily. This setup is especially useful if you have five or more cables, as it enhances accessibility and reduces clutter.
Remember to use T568A or T568B wiring standards when connecting your cables to ensure everything works smoothly. Use riser (CMR) or plenum (CMP) jacket ratings as required by code, and maintain separation from mains wiring.
Conclusion
In summary, getting your home wired with network cables can really enhance your internet experience. By planning your layout, choosing the right cables, and carefully installing everything, you’ll enjoy faster and more reliable connections throughout your home. Plus, testing your setup ensures everything works smoothly. Remember to follow best practices to keep things organized and efficient. With a little effort, you’ll have a network that supports all your devices, making streaming and gaming even more fun!
Frequently Asked Questions
How Much Does It Cost to Run Ethernet Through My House?
Running Ethernet through your house costs vary based on cable types and installation costs. DIY wiring can save money, but professional services may handle installation challenges better. Consider future proofing for ideal home networking benefits and cost savings.
How Do I Install a Network Cable at Home?
For network cable installation, plan your runs, choose appropriate Ethernet cable types, and install wall plates. Use patch panels for cable management, follow router placement strategies, and remember home networking tips to troubleshoot connectivity issues effectively.
Can Electricians Install Network Cables?
Yes, electricians can handle network installation. Just ensure they possess the right qualifications for cable types, follow safety regulations, and offer network planning. Their expertise aids in cable management and troubleshooting tips for efficient home networking.
Is It Worth Wiring a House for Ethernet?
Wiring your house for Ethernet is definitely worth it. You’ll enjoy benefits like improved internet speed, better security for smart devices, and future-proofing. Plus, it’s cost-efficient, enhancing your home office while minimizing installation challenges and DIY options.
- Telecom Network Infrastructure: Complete Guide to Components & Design - January 6, 2026
- TP-Link TL-SG108E vs Netgear GS308E: Budget Smart Switches - January 5, 2026
- MikroTik CRS305-1G-4S+ Review: The Ultimate Budget SFP+ Switch Guide - December 25, 2025

