Are you experiencing issues with your TP-Link extender? Perhaps you’ve forgotten your login password or wireless password, or maybe you’re having trouble connecting devices to your extended network. In such cases, resetting your TP-Link extender to its factory default settings can often resolve these problems.
In this comprehensive guide, we’ll walk you through the process of resetting your TP-Link extender, explaining the reasons why you might need to do so and providing step-by-step instructions for both hardware and software resets.

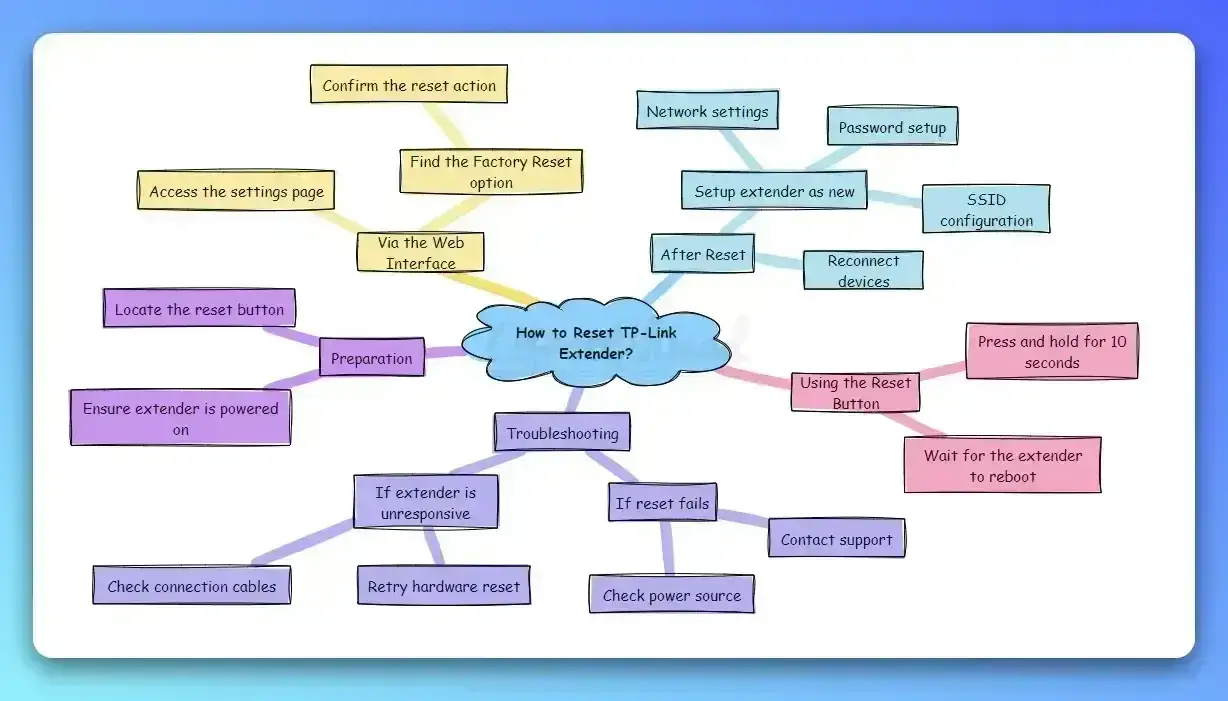
Reasons to Reset Your TP-Link Extender
There are several situations where resetting your TP-Link extender might be necessary:
- Forgot login password: If you can’t remember the password you set for accessing the extender‘s web management page, resetting the device will restore the default login credentials.
- Forgot wireless password: When you forget the password for your extended wireless network, resetting the extender will allow you to create a new wireless password.
- Troubleshooting connectivity issues: If you’re experiencing problems with devices connecting to your extended network or if the extender itself is having difficulty connecting to your main router, a reset can help resolve these issues.
- Restoring to factory default settings: Resetting your TP-Link extender will erase all custom configurations and restore the device to its original, out-of-the-box settings.
Method 1: Hardware or Factory Reset TP-Link Extender
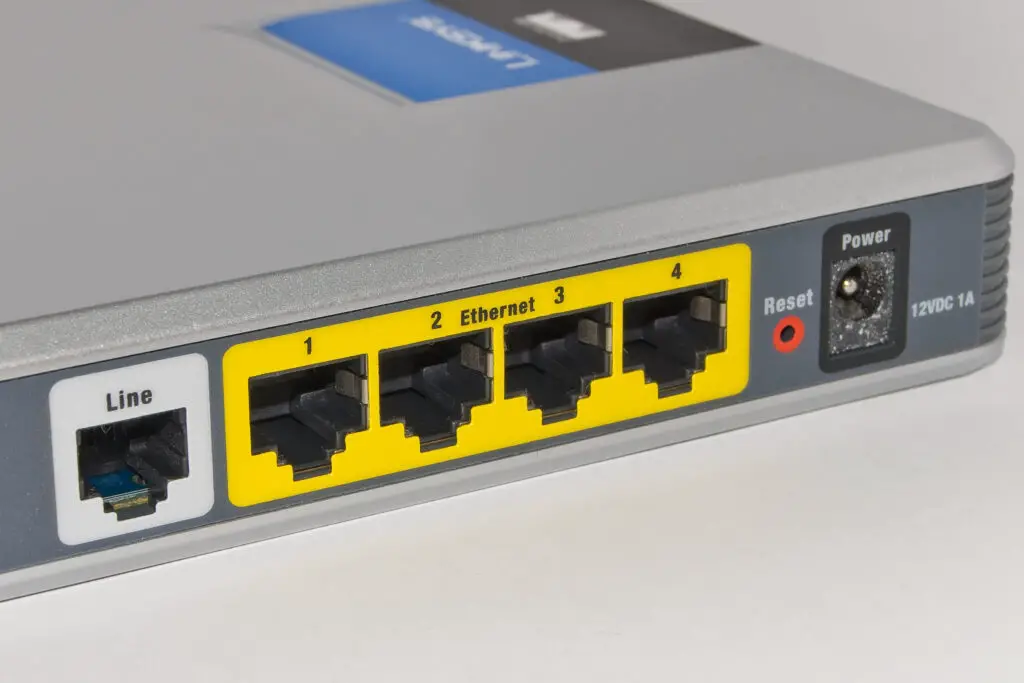
The quickest and easiest way to reset your TP-Link extender is by using the physical Reset button on the device:
- Locate the Reset button on your extender. It is typically a small, recessed button found on the back or side of the device.
- Using a pin, paperclip, or similar object, press and hold the Reset button for approximately 1 second.
- Release the button and wait for the extender to reboot. This process may take a few minutes.
- Once the reboot is complete, your TP-Link extender will be restored to its factory default settings. You will need to log into its web management page. Navigate to Settings > System Tools > Backup & Restore and select Factory Restore to confirm the reset.
If you are still unsure refer to the specific model’s user manual or reach out to TP-link customer support as the reset process may slightly vary across different models.
Method 2: Factory Reset TP-Link Extender via Web Management Page
This method is an alternative to the physical reset button and is particularly useful if you have access to the extender’s interface but not to the device itself.
If you prefer a software-based approach, you can reset your TP-Link extender through its web management page:
- Connect your computer to the extender’s network and open a web browser.
- Enter
http://tplinkrepeater.netin the address bar and press Enter to access the extender’s web management page. - Log in using your extender’s username and password. If you haven’t changed these credentials, the default username is usually “admin,” and the password is “admin” or left blank.
- Once logged in, navigate to the “System Tools” or “System Settings” section, then look for an option labeled “Backup & Restore,” “Factory Default,” or similar.
- Click the “Factory Restore” or “Reset” button, then confirm the action when prompted.
- Wait for the extender to reboot and restore its default settings. This process may take a few minutes.
Things to do after Resetting Your TP-Link Extender
After resetting your TP-Link extender, there are a few steps you’ll need to take to get it up and running again:
- Reconfigure the extender for internet access: Since the reset erases all custom settings, you’ll need to go through the initial setup process again to connect the extender to your main router and configure it for internet access.
- Set a new login password: To secure your extender’s web management page, be sure to set a new, strong password during the setup process.
- Reconnect wireless devices to the extended network: Once the extender is configured and running, you’ll need to reconnect your wireless devices to the extended network using your new wireless login credentials.
- Verify extender functionality: Ensure your devices can connect to the internet through the extender and that the connection is stable.
Troubleshooting Tips
If you encounter any issues during the reset process or while reconfiguring your TP-Link extender, try these troubleshooting tips:
- Can’t access the web management page: Ensure your computer is connected to the extender’s network (either wirelessly or via Ethernet). Also, verify that you are entering the correct URL (
http://tplinkrepeater.netorhttp://192.168.0.254) in your web browser’s address bar. - Disable MAC filtering, wireless access control, or ACL on your router: If your main router has any of these security features enabled, you may need to temporarily disable them before configuring your extender. After setup, you can re-enable these features and add your extender’s MAC address to the allowlist.
- Ensure your computer is configured to obtain an IP address and DNS server address automatically: This setting allows your computer to receive the necessary network information from the extender. You can typically find this option in your computer’s network settings.
Checkout some of the Tp-link latest WiFi extenders:


Conclusion
Resetting your TP-Link extender can be a useful troubleshooting step when you encounter connectivity issues or need to restore the device to its default settings. By following the step-by-step instructions outlined in this guide, you should be able to reset your extender easily using either the hardware Reset button or the web management page.
Remember to reconfigure your extender after the reset, set a new login password, and reconnect your wireless devices to the extended network. If you run into any problems during the process, try the troubleshooting tips provided.
We hope this guide has been helpful in assisting you with resetting your TP-Link extender. If you have any further questions or experiences to share, feel free to leave a comment below. Happy resetting!
- pfSense 10G Home Lab Setup: Complete Hardware Guide (2026) - April 1, 2026
- Best Budget Home Lab Setup Under $300 (2026): Complete Starter Stack - March 30, 2026
- Best Modems for Spectrum: Top DOCSIS 3.1 Picks That Actually Work - March 28, 2026