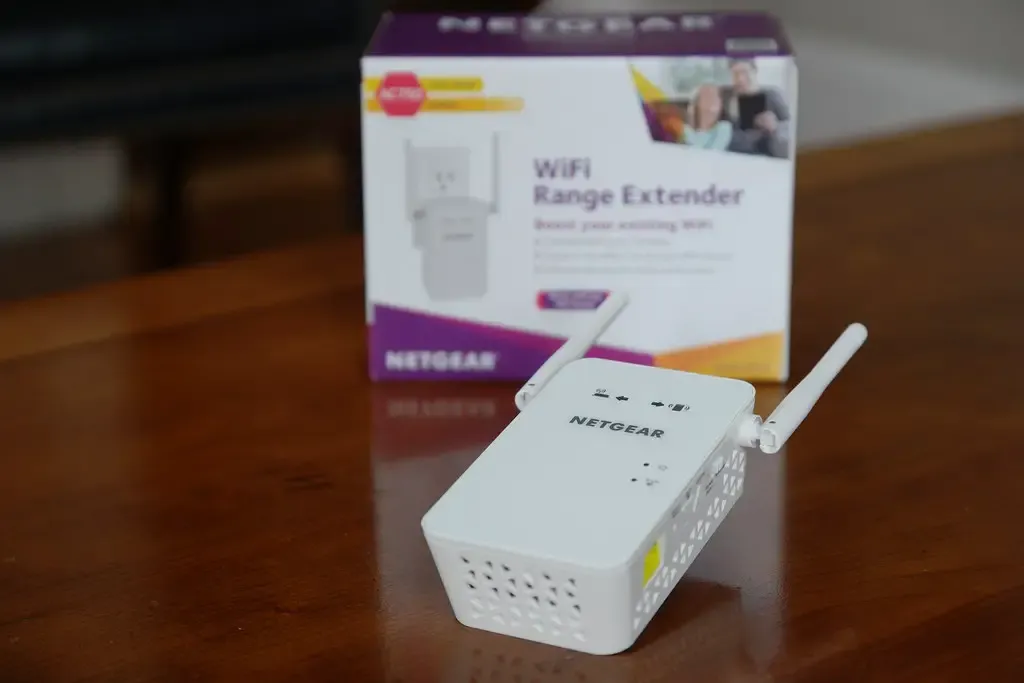
Struggling with WiFi dead zones in your home? A Netgear WiFi extender might be the solution you need. These devices enhance your existing WiFi by extending its coverage to weak signal areas, ensuring a robust connection throughout your home.
This guide will cover everything from choosing the right model based on coverage area and speed to simple setup methods via WPS, Web Browser(recommended), or the Netgear Nighthawk app. Keep reading for step-by-step instructions, advanced settings configuration, and troubleshooting tips to maximize your WiFi network’s performance and reliability.
Key Takeaways
- 📡 WiFi extenders boost your existing signal and expand its reach.
- 🔎 Netgear offers extenders for different needs (coverage area, speed).
- 岔 Extenders work differently from boosters and mesh systems.
- 📍 Strategic placement is crucial for optimal extender performance.
- 🔌 Setting up your Netgear extender is possible with three methods: WPS, web browser (recommended), or the Nighthawk app.
- ❓Common extender issues (not connecting, slow speeds) often have simple troubleshooting solutions.
Understanding WiFi Extenders
Before we dive into the setup process, let’s take a moment to understand how WiFi extenders work. These devices are designed to boost your existing WiFi signal and expand its coverage area. They work by receiving the signal from your main router and then rebroadcasting it to areas where the signal is weak or nonexistent.
It’s important to note that WiFi extenders are different from WiFi boosters and mesh systems. While they all aim to improve your WiFi coverage, they work in slightly different ways:
- WiFi Extenders: These devices connect to your existing router and create a separate extended network.
- WiFi Boosters: These are similar to extenders but are designed to amplify the existing signal rather than creating a separate network.
- Mesh Systems: These consist of multiple devices that work together to create a seamless, single network throughout your home.
Several factors can impact the performance of your WiFi extender, including:
- Placement: The location of your extender is crucial for optimal performance. It should be placed halfway between your router and the dead zones.
- Interference: Physical obstacles and electronic devices can interfere with your WiFi signal, so it’s best to avoid placing your extender near them.
- Bandwidth: The more devices connected to your network, the more bandwidth is consumed, which can slow down your connection speeds.
Check out WiFi Mesh vs Extender vs Booster vs Repeater article for more details.
Choosing the Right Netgear Extender
Now that you understand how WiFi extenders work, let’s talk about choosing the right Netgear extender for your needs. There are several factors to consider when selecting a model:
- Coverage Area: Consider the size of the area you need to cover. Netgear offers extenders with different coverage ranges, starting from 1,200 square feet.
- Speed: Look for an extender that supports the same speed as your router. If you have a dual-band router, choose a dual-band extender.
- Bands: Dual-band extenders offer both 2.4GHz and 5GHz frequencies, while tri-band extenders offer an additional 5GHz band for even better performance.
- Wired Ports: Some extenders come with Ethernet ports, which can be useful if you want to connect wired devices like gaming consoles or smart TVs.
- Make sure it’s compatible with your existing router and Internet Service Provider (ISP).
- The number of devices that will be connected to the extended network.
- Your budget and desired features (e.g., Ethernet ports, mobile app support)
Here are some popular Netgear extender models to consider:
- Netgear Nighthawk WiFi Extender series: A top-of-the-line tri-band extender with speeds up to 3000 Mbps, wide coverage, and advanced features like MU-MIMO and beamforming.
- Netgear WiFi Mesh Extender series: These extenders work with your existing router to create a seamless mesh network throughout your home.
- Dual Band Negear WiFi Extenders:
- NETGEAR EX6150: A dual-band WiFi extender with speeds up to 1200 Mbps, ideal for medium-sized homes.
- NETGEAR EX7300: A high-performance dual-band extender with speeds up to 2200 Mbps, perfect for larger homes and multiple devices.


Preparing for Setup
Before you start setting up your Netgear extender, there are a few things you should do to prepare:
- Gather necessary information:
- Your router’s SSID (network name) and password
- Your extender’s model number and serial number (found on the bottom or back of the device)
- Choose the optimal placement for your extender:
- Place it halfway between your router and the dead zones
- Avoid placing it near obstacles like walls, metal objects, or electronic devices that can interfere with the signal
- Update the firmware on your router and extender:
- Visit the Netgear support website and download the latest firmware for your specific models
- Follow the instructions to install the firmware updates
Setup Methods
There are three main methods for setting up your Netgear extender: the WPS button method, the web browser method, and the Netgear Nighthawk app method (for applicable models).
WPS Button Method
The WPS (Wi-Fi Protected Setup) button method is the simplest way to set up your extender. Here’s how to do it:
- Plug in your extender and wait for the power LED to light up.
- Press the WPS button on your extender.
- Within two minutes, press the WPS button on your router.
- Wait for the extender to connect to your router. The LED will turn solid green when the connection is established.
If you encounter any issues with the WPS method, try the following troubleshooting tips:
- Make sure your router supports WPS and that the feature is enabled.
- Move your extender closer to your router and try again.
- Reset your extender to factory settings and start the process over.
Web Browser Method (Recommended Method)
If your router doesn’t support WPS or you prefer to use the web browser method, follow these steps:
- Plug in your extender.
- Connect your device to the extender’s WiFi network (SSID name: NETGEAR_EXT). The extender network may not have a password.
- Launch a web browser and enter mywifiext.net or 192.168.1.250.
- Click or tap “New Extender Setup“.
- Choose your extender’s admin credentials (username: admin, password: different from your WiFi network password).
- Select and answer two security questions.
- Click or tap “Next“.
- Select the radio buttons for your network’s 2.4GHz and 5GHz WiFi network names (SSID).
- Enter your existing network’s password.
- Select SSIDs and passwords for your extender. By default, the extender uses the same name of your existing network with _2GEXT added to the end for the 2.4GHz band and _5GEXT for the 5GHz band. You can also choose to use the same WiFi name and password as your existing network.
- Click or tap “Next“.
- The extender will apply your settings.
- Take note of the WiFi network name (SSID) and password for each of your extender’s bands.
- Connect a device to your extender’s new network.
- Go back to your web browser and click “Continue“. Your extender is now extending your network’s coverage.
If you have trouble accessing the setup page, try these troubleshooting tips:
- Make sure your device is connected to the extender’s WiFi network.
- Clear your browser’s cache and cookies, then try again.
- Use a different web browser or device to access the setup page.
Netgear Nighthawk App Method
If you have a compatible Netgear extender, you can use the Netgear Nighthawk app to set it up. Here’s how:
- Download the Netgear Nighthawk app from the App Store or Google Play.
- Create an account or log in with your existing credentials.
- Follow the app’s instructions to connect your extender to your router’s network.
The app provides a user-friendly interface for setting up and managing your extender, as well as access to additional features like parental controls and device prioritization.
Check the list of supported Netgear WiFi extenders with the Nighthawk app.
Connecting Devices to the Extended Network
Once your extender is set up, you can connect your devices to the extended network. Here’s how:
- Look for the extender’s new SSIDs, which will have “_2GEXT” or “_5GEXT” appended to your router’s SSID.
- Connect your devices to the appropriate SSID using your router’s WiFi password.
To get the best performance from your extended network, keep these tips in mind:
- Connect devices to the appropriate band (2.4GHz for longer range, 5GHz for faster speeds).
- Limit the number of devices connected to the extender to avoid overcrowding the network.
- Adjust the extender’s WiFi channel settings to minimize interference from neighboring networks.
Configuring Advanced Settings
If you want to customize your extender’s settings, you can access the advanced options through the web interface. Here’s how:
- Connect your device to the extender’s network.
- Open a web browser and enter mywifiext.net or 192.168.1.250 in the address bar.
- Log in with your admin username and password.
From the web interface, you can:
- Change your extender’s WiFi settings (SSID, password, security type)
- Set up access control or guest networks
- Enable or disable features like FastLane, Smart Connect, or Beamforming+
Be sure to save your changes before exiting the web interface.
Troubleshooting Common Issues
Even with the best setup, you may encounter issues with your WiFi extender from time to time. Here are some common problems and how to troubleshoot them:
Extender Not Connecting to Router
- Check that your extender is plugged in and within range of your router.
- Make sure your router’s WiFi is enabled and broadcasting.
- Reset your extender to factory settings and try setting it up again.
Devices Unable to Connect to Extended Network
- Make sure your devices are connecting to the correct SSID (ending in “_2GEXT” or “_5GEXT”).
- Check that your devices are within range of the extender.
- Try forgetting the network on your device and reconnecting.
Slow Speeds or Poor Performance
- Move your extender closer to your router or to a more central location.
- Reduce the number of devices connected to the extender.
- Change the extender’s WiFi channel to one with less interference.
Red Light on Extender
A red light on your Netgear WiFi extender typically indicates a poor connection or setup issue.
- Check that your extender is within range of your router.
- Ensure that your router’s WiFi is enabled and broadcasting.
- Reset your extender and router, then try the setup process again.
Resetting the WiFi Extender
If you’re having persistent issues with your Netgear WiFi extender, you may need to reset it to factory settings.
- Locate the reset button on your extender (usually a pinhole button on the back or bottom of the device).
- Use a paperclip or similar object to press and hold the reset button for 5-10 seconds until the LEDs start flashing.
- Release the button and wait for the extender to restart.
- Set up your extender again using one of the methods described earlier.
If you’ve tried these troubleshooting steps and are still experiencing issues, consider contacting Netgear Support for further assistance.
Maximizing Your Extended WiFi Network
To get the most out of your Netgear WiFi extender, here are some additional tips:
- Experiment with different placement locations to find the optimal spot for your extender.
- Regularly update your router and extender’s firmware to ensure the best performance and security.
- Consider upgrading to a mesh WiFi system if you have a larger home or more demanding WiFi needs.
Conclusion
Setting up a Netgear WiFi extender is a straightforward process that can greatly improve your WiFi signal and extend your WiFi range. By following the steps outlined in this guide and experimenting with placement and settings, you can say goodbye to dead zones and enjoy seamless WiFi coverage throughout your home.
FAQs
- Can I use a Netgear extender with a non-Netgear router?
Yes, Netgear extenders are designed to work with any router brand as long as they are compatible. - How many devices can I connect to my Netgear extender?
The number of devices you can connect depends on your extender model and network bandwidth. Most extenders can handle up to 32 devices. - Can I use multiple extenders to cover a larger area?
Yes, you can use multiple extenders to create a larger extended network. However, for best performance, consider upgrading to a mesh WiFi system instead. - Do I need to disconnect my devices from my router’s network when using an extender?
No, your devices will automatically connect to the strongest signal, whether it’s from your router or extender. - How often should I update my extender’s firmware?
It’s a good idea to check for firmware updates every few months or whenever you experience issues with your extender’s performance.
- pfSense 10G Home Lab Setup: Complete Hardware Guide (2026) - April 1, 2026
- Best Budget Home Lab Setup Under $300 (2026): Complete Starter Stack - March 30, 2026
- Best Modems for Spectrum: Top DOCSIS 3.1 Picks That Actually Work - March 28, 2026