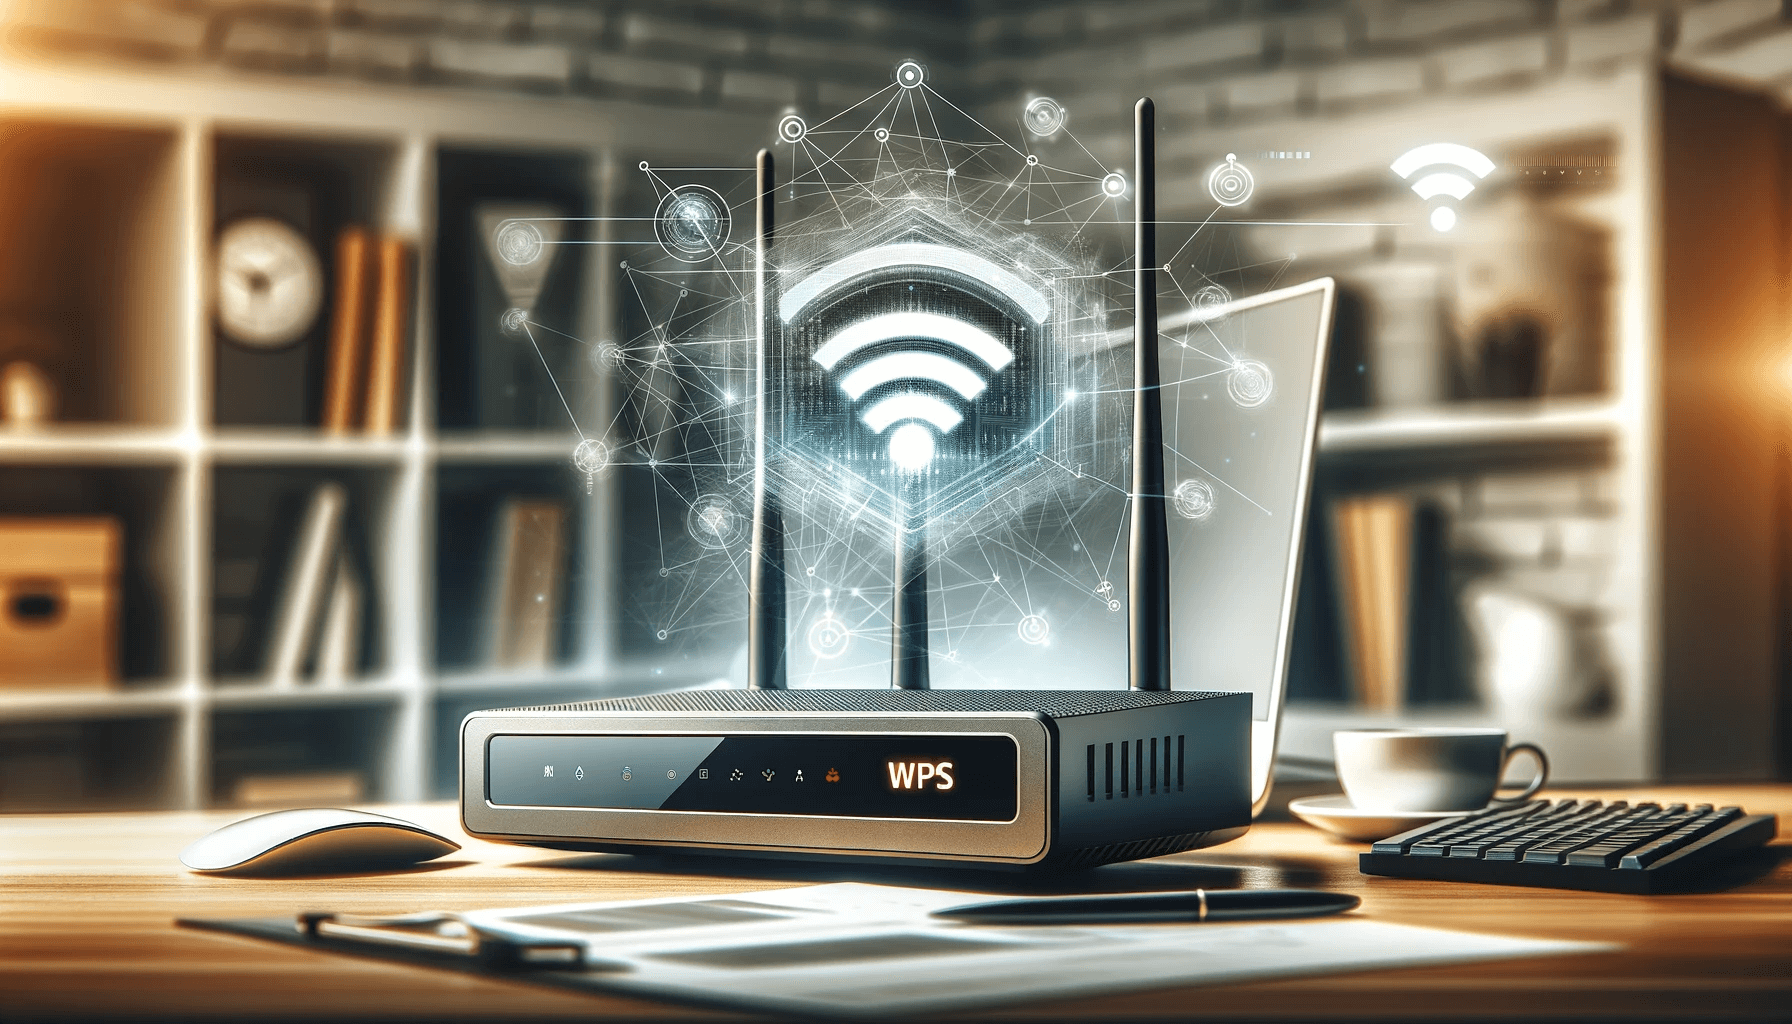
The mysterious WPS button on your Wi-Fi router – what is it, and why is it there? This handy little button has become a standard feature on most modern wireless routers, enabling easy connectivity between your router and wireless devices like Macbooks, PCs, printers, and more.
In this comprehensive guide, we’ll demystify WPS and show you everything you need to know about the functionality and benefits of the WPS button on your router. You’ll learn what that obscure little button actually does, how to use it properly, and how it can make setting up a wireless home network a breeze.
Key Takeaways on the WPS Button
- The WPS button enables automated setup of devices on your Wi-Fi network via Wi-Fi Protected Setup.
- Pressing this button activates WPS mode for a short timeframe, allowing devices to connect without passwords.
- WPS buttons are found on most modern wireless routers, sometimes subtly labeled.
- The WPS connection process securely adds devices after just pressing the button on both router and device.
- Beyond the physical button, router interfaces also offer WPS via methods like PIN codes.
- When used properly, WPS maintains good network security while adding major convenience.
- Troubleshooting tips can help resolve any issues with unresponsive WPS buttons.
What Is the WPS Button on the Router or Modem, and Why Does It Matter?
Let’s start at the beginning – what exactly is WPS?
WPS stands for Wi-Fi Protected Setup. It is a wireless networking standard introduced in 2007 to simplify the process of connecting devices to a wireless router or access point.
Prior to WPS, users had to manually enter long, complex Wi-Fi network passwords every time they wanted to connect a new device to the network. This was cumbersome and led to poor security practices like using weak passwords or leaving default passwords unchanged.
WPS was developed by the Wi-Fi Alliance to automate and secure the setup process for home Wi-Fi networks. The goal was to make it easy for even non-technical users to add new devices to a wireless network with the push of a button, rather than having to fiddle with SSID names and passwords.
At the same time, WPS aimed to improve Wi-Fi security by encouraging the use of strong encryption from the start.
So in a nutshell, WPS provides an easy, one-button mechanism to configure and add new devices to a Wi-Fi network, while still maintaining security.
Over the years WPS has evolved from being a luxury to a standard feature across routers and wireless devices. Today most routers have a physical WPS button on the device itself, along with WPS options built into the firmware interface.
Understanding how to use WPS can make connecting PCs, printers, smart home devices, laptops, and more to your Wi-Fi network a total breeze!
Pros and Cons of Using WPS
Pros
- Ease of Use: WPS eliminates the need to manually enter your Wi-Fi password, streamlining the connection process.
- Enhanced Compatibility: WPS is compatible with most devices, making it convenient for connecting various devices to your network.
- Improved Security: WPS generates a random password that is used only once during setup, providing additional security.
Cons
- Security Concerns: WPS is not as secure as traditional password-based authentication, as it is vulnerable to brute-force attacks.
- Limited Device Compatibility: Only devices with WPS support can utilize this feature to connect to your Wi-Fi network.
- Potential Unauthorized Access: Any WPS-enabled device within range can connect to your Wi-Fi network without requiring your permission.
Where to Find WPS Button?
The most visible manifestation of WPS on your router is the WPS button. This is typically a physical button located somewhere on the exterior of the router, although its placement can vary.
The WPS button may also be referred to as the WPS Push Button (PBC) in some router documentation.
Pressing the WPS button triggers the WPS function to activate and initiate connections between the router and wireless devices. We’ll go into more detail on how this works in the next section.
On many modern routers, the WPS button is hard to miss. It is often marked clearly with the letters “WPS” and decorated with the WPS logo (which looks like a computer mouse pointer clicking a wireless signal).
However, the placement and labeling can vary across router models and brands.
Here are some examples of where you may find the WPS button:
- On the rear panel of the router, near the Ethernet ports
- On the side or top of the router’s casing
- On the front/top if the router is positioned vertically
- Nestled among other buttons on the back/side
- Subtly integrated into the router’s overall design.
here’s a table listing WPS-supported device types and how to use WPS on each device:
| Device Type | How to Use WPS |
|---|---|
| Router | Press the WPS button on the router, then within a limited time, press the WPS button on the client device to establish a secure connection. |
| Wireless Printer | Access the printer’s settings menu, locate the WPS option, and follow the on-screen instructions to connect the printer to the Wi-Fi network using WPS. |
| Smartphones | Some older smartphones may support WPS. Users can typically access the WPS functionality through the Wi-Fi settings on the smartphone and follow the on-screen instructions to connect to a WPS-enabled network. |
| Other Internet-Capable Devices | For devices such as TVs, Blu-ray players, and other internet-capable devices, users can typically access the WPS functionality through the network settings or the device’s control panel, following the manufacturer’s instructions. |
Here’s a table with the router models and their corresponding WPS button locations:
| Router Model | WPS Button Location |
|---|---|
| ASUS routers | Near the WAN port used for connecting to the internet |
| Any Printer | In the settings menu of the printer’s control panel |
| Generic routers | Positioned next to the Ethernet LAN ports |
| Verizon Fios Router | Unified button located on the front of the router |
Xfinity Routers and their WPS buttons locations-
| Xfinity Wireless Gateway 2 & 3 | On top of the gateway, clearly labeled as “WPS” |
| Xfinity xFi Advanced Gateway XB6 | On the top left side of the “Xfinity” logo |
| Xfinity xFi Advanced Gateway XB7 or XB8 | On the back of the router, marked with two arrows pointing toward each other, above the ethernet ports |
Here’s a table summarizing the WPS pin or button location and the method to use it for various printer brands:
| Printer Brand | WPS Pin/Button Location | Method to Use |
|---|---|---|
| HP Printers | Settings menu of the printer’s control panel | – Access the wireless menu or settings menu from the printer’s screen. – Select the WPS option and follow the on-screen instructions. – Choose the “WPS Button” option to complete the setup. |
| Canon Printers | Settings menu of the printer’s control panel | – Swipe across the touchscreen display area, then tap WLAN. – Follow the on-screen instructions to complete the WPS setup. |
| Epson Printers | Settings menu of the printer’s control panel | – Swipe across the touchscreen display area, then tap WLAN. – Follow the on-screen instructions to complete the WPS setup. |
It is important to note that WPS functionality has been deprecated and is not present in iPhones and most Android phones.
If you are having trouble locating the WPS button visually, check the router’s manual or online documentation for guidance. Sometimes, the button is discreetly integrated into the design or indicated with just a subtle icon rather than large text.
Wireless access points may also have WPS buttons, functioning the same way as on a router. So you may find and utilize a WPS button on a range extender or wireless bridge as well.
Once located, the WPS button can serve as your easy shortcut to connecting devices to your Wi-Fi network. Just be aware that on some router models, you may need to press and hold the button for a few seconds to activate WPS mode.
We’ll now walk through how the WPS setup process actually works when pressing this button.
How to use WPS on Windows 10 or 11
To use WPS (Wi-Fi Protected Setup) on a Windows 10 PC, follow these steps:
- Select the Wi-Fi Network: Open the list of available wireless networks by clicking or tapping the wireless icon from the system tray. Find the wireless network you want to connect to and click or tap on its name.
- Connect through WPS: Instead of typing the Wi-Fi password, use the WPS button on the router. Windows 10 will prompt you to connect through WPS, and you can initiate the connection by pressing the WPS button on the router.
It’s important to note that while Windows 10 still supports WPS, it’s recommended to use alternative connection methods due to security concerns associated with WPS.
Using the WPS Feature: Connecting Devices Seamlessly
Pressing the WPS button initiates a two minute timeframe during which you can connect a new device to the Wi-Fi network via WPS and bypass the need to enter passwords or network names.
Here is an overview of how the WPS automated connection process works in practice:
Step 1: Ensure the router is powered on and operating normally. Locate the WPS button on the router’s exterior.
Step 2: Press the WPS button for 1-3 seconds and release. On some routers, you may need to hold for longer to start WPS mode.
Step 3: The router will now enter WPS mode for 2 minutes. A WPS indicator light may flash to confirm this.
Step 4: Within the 2-minute period, go to the device you want to connect, such as a PC, laptop, or printer. Access its Wi-Fi settings screen.
Step 5: Initiate the WPS function on the device. There is usually a WPS button or “Press WPS” option in the Wi-Fi settings.
Step 6: The device will now communicate automatically with the router and establish a secure WPS connection without needing to select SSID or enter passwords!
And that’s it! With those six simple steps, you’ve securely added a new device to your Wi-Fi network with a quick push of a button. No advanced technical expertise required!
WPS is supported across most modern routers, laptops, PCs, Printers, and other Wi-Fi-enabled devices for the past 5-10 years.
The location of the WPS initiation button or menu will vary across devices – just check the device’s settings and documentation to find out where to trigger the WPS function.
Once both router and device have WPS activated simultaneously, the automated handshake and connection occurs seamlessly.
Some key pointers to keep in mind when using WPS:
- Ensure you press the WPS button on the router first to put it in WPS mode before connecting the device.
- Each device must have WPS activated within the 120 second timeframe that the router is in WPS mode. Otherwise the connection may time out.
- You can connect multiple devices within the same 2 minute timeframe by activating WPS on each device sequentially.
- The closer the device is to the router, the quicker the WPS connection typically establishes.
With this easy process, you can conveniently add PCs, Macbooks, Printers smart home gadgets, and so much more to your Wi-Fi network with just the push of a button!
Alternative WPS Connection Methods
While the WPS button provides the easiest way to activate WPS, it’s not the only way to initiate the automated WPS connection. Many routers also provide alternative WPS modes, configurable through the router’s web interface.
Common WPS modes include:
- Push Button Configuration (PBC) – This is the mode activated when you press the physical WPS button on the router. It enables the 2 minute timeframe for button-triggered WPS connections.
- Personal Identification Number (PIN) Method – With this method, you configure a PIN code within the router’s settings to enable WPS. This PIN is then entered into the device to authorize WPS.
- Near Field Communication (NFC) Method – Routers and devices with NFC capabilities can connect via WPS by tapping the NFC points together.
- Software/Virtual PBC – Some router interfaces provide a virtual software button to activate PBC mode without requiring the physical WPS button push.
So beyond just the hardware WPS button, you may also find additional WPS connection options within your router’s firmware settings. The PIN method can be especially useful if your router’s WPS button is malfunctioning or inaccessible.
Just keep in mind that the hardware button provides the most foolproof way to quickly enter WPS mode. The alternative methods require accessing the router interface and entering additional credentials like PIN codes.
But having options is always good! So explore your router’s settings to see what other WPS modes are supported beyond the tactile button.
WPS Security Concerns: Striking the Right Balance
With all this talk emphasizing the simplicity and convenience of WPS for easy connections, you may be wondering – is WPS secure?
It’s a fair concern. By automating the Wi-Fi setup process, WPS appears to bypass the standard security mechanisms like network passwords that typically protect our wireless networks.
However, appearances can be deceiving! Rest assured, WPS does incorporate strong security protections:
- WPS requires routers to implement modern WPA2 encryption from the outset to encrypt traffic. This prevents open, unsecured networks.
- The WPS connection exchange utilizes secure key negotiation and handshake protocols to establish robust device authentication.
- User interaction is required (button push) to explicitly enable WPS mode, preventing automatic exploits.
- Short 2 minute timeframe limits opportunity for brute force WPS attacks.
- WPS PIN authentication offers an additional layer of security when used.
At the same time, no security solution is bulletproof. Following best practices is important to keep your network safe when using WPS:
- Use WPS only for initial device setup, then disable WPS functionality when not actively adding new devices.
- Avoid using WPS on open/public networks where attackers may be present.
- Be selective in using WPS even at home if you have greater security concerns. Manually configure new devices instead.
- Change your network’s Wi-Fi password periodically.
- Update router firmware to patch any WPS bugs that are discovered.
By following these tips, you can strike the right balance – getting the convenience of automated WPS connections while still maintaining good network security.
Be thoughtful about when and where you enable WPS, and ensure your router’s firmware and settings are always kept up to date. Used selectively in a home environment, WPS simplifies Wi-Fi connections while still keeping your network protected.
Technical Aspects of WPS: Under the Hood
For those interested in the deeper technical workings behind WPS, let’s explore some of the key mechanisms and protocols involved:
- Wi-Fi Protected Setup Identifier (WPS ID) – The unique identifier assigned to each registered Wi-Fi device that enables WPS-based authentication. It is embedded in the device firmware.
- Pre-Shared Key (PSK) – The master key used when generating the final encryption keys for the WPS connection. It provides core cryptographic functions.
- EAP-NFC – The Extensible Authentication Protocol framework used for NFC-based WPS connections. It establishes device credentials.
- EAP-WSC – A version of EAP tailored for Wi-Fi Simple Configuration, facilitating automated provisioning.
- DHKey Exchange – A Diffie-Hellman key exchange that securely negotiates session keys between devices and routers during WPS.
- Wi-Fi Simple Configuration (WSC) – The overarching labeling for protocols like EAP-WSC that are designed to enable seamless device provisioning to a WLAN.
- Registrar – The WPS entity on an access point or router that facilitates the registration of a new Enrollee device via WPS.
Beyond these basics, truly digging into the technical specifics of WPS requires an advanced understanding of cryptography, wireless authentication protocols, and security.
Suffice to say, the developers of WPS put considerable thought into making the system both user-friendly and cryptographically solid!
Troubleshooting WPS Issues: When the Button Isn’t Working
For the most part, you can expect WPS on your router to work reliably and as intended. But technology can be finicky at times. If you are pressing that WPS button to no avail, some troubleshooting may be needed.
Here are some common issues that may occur with WPS, along with potential fixes:
Problem: WPS connections are timing out or failing to establish.
Potential Solutions:
- Ensure router and device are within close proximity, ideally <5 meters apart.
- Try restarting or rebooting the router and device before attempting WPS again.
- Check if router firmware needs an update to address WPS bugs.
- Reduce sources of radio interference that may disrupt the WPS process.
Problem: WPS button does not seem to activate WPS mode on the router.
Potential Solutions:
- Button may need to be long-pressed for 3+ seconds to properly activate.
- Pinpoint if button is physically stuck/broken. Test with paperclip if needed.
- Log into router admin interface and activate WPS via software PBC instead.
- Factory reset of router may be required if button malfunctions persist.
Problem: Unknown error occurs when trying to enable WPS.
Potential Solutions:
- Consult router admin interface for error specifics and resolution details.
- Ensure WPS is not disabled in router settings if trying to use it.
- Perform power cycle of router and device before retrying WPS.
As you can see, the few issues that may crop up with WPS often have straightforward fixes. A bit of trial and error along with reference to router documentation can typically get WPS working again.
Sometimes just rebooting devices or toggling WPS off and on is all that’s needed! But for persistent problems, a factory reset may be the foolproof solution.
Alternative Options of WPS
The alternatives to WPS for connecting to Wi-Fi networks include:
- Wi-Fi Easy Connect: Wi-Fi Easy Connect was introduced by the Wi-Fi Alliance as an alternative to WPS. It provides a simple and secure method to onboard Wi-Fi devices to a network without entering a password. This protocol uses a URI acquired by scanning a QR code or configured out-of-band using BLE or NFC.
- Wi-Fi Management Apps: There are various Wi-Fi management apps available for Android devices that offer features for checking Wi-Fi network security, testing Wi-Fi signals, and detecting potential risks, including password and WPS risks.
- Secure Wi-Fi Hotspot Creation: Some apps allow users to create secure Wi-Fi hotspots from their Android smartphones or tablets, providing an alternative method for sharing mobile data and creating secure Wi-Fi connections.
These alternatives aim to provide users with secure and convenient methods for connecting to Wi-Fi networks while addressing the security concerns associated with WPS.
The Future of WPS and Wireless Connectivity
The future of WPS (Wi-Fi Protected Setup) is a topic of ongoing discussion and evolution within the networking industry. While WPS has been a convenient method for connecting devices to Wi-Fi networks, there are growing concerns about its security vulnerabilities. Here are some key points from the search results:
- Deprecation and Replacement: There is a call to deprecate and replace WPS with more secure alternatives to assist users in easily connecting to Wi-Fi in a secure manner. The Wi-Fi Alliance has introduced Wi-Fi Easy Connect as a replacement for WPS, which uses a QR code to simplify the process of connecting devices to a Wi-Fi network.
- Security Concerns: WPS has been associated with security vulnerabilities, and there is a push to accelerate the development and adoption of alternatives to WPS to ensure secure wireless communications. The Wi-Fi Alliance has evolved security features over the years to meet changing requirements and emerging threats, with WPA3 being the latest mandatory security protocol for new Wi-Fi Alliance certifications.
- Industry Evolution: The Wi-Fi industry has a history of evolving security features to address emerging threats and changing requirements. While there have been occasional missteps and vulnerabilities, the industry has worked to resolve them quickly and effectively.
- Device Support: WPS is a feature supplied with many routers and is designed to simplify the process of connecting to a secure wireless network from a computer or other device. However, support for WPS may vary across different devices and operating systems, with some newer devices and operating systems no longer supporting WPS.
In summary, the future of WPS involves a shift towards more secure alternatives, such as Wi-Fi Easy Connect, to ensure that users can easily connect to Wi-Fi networks in a secure manner. The networking industry continues to evolve its security features to address emerging threats and provide users with secure wireless communications.
Conclusion: Your Instant Wi-Fi Connection Shortcut
That mysterious little WPS button found on every modern router may seem obscure, but it packs an outsized punch in terms of usefulness!
Pressing this unassuming button initiates the automated WPS process that instantly pairs devices with your Wi-Fi network in seconds – no pesky network names or passwords required.
While a bit of caution is warranted to keep WPS secure, when used properly it frees you from much of the hassle traditionally associated with wireless setup.
So embrace the power of WPS and that Wi-Fi Protected Setup button! With a simple push, you can quickly and conveniently get all your smart home gadgets, computers and printers connected to your home network.rs
When it comes to wireless connectivity, WPS is truly one button to rule them all!
Consult Your Router’s Manual
With this overview of the WPS button, you should have a much deeper understanding of how to use this shortcut for easy Wi-Fi connectivity.
Be sure to consult your specific router’s manual as well for guidance on the WPS button placement and required press duration. Methods vary across router models.
Contact Your ISP for Personalized Support
Don’t hesitate to reach out to your Internet service provider’s customer support too if you need any assistance getting WPS set up properly on your home network.
They can offer tailored guidance based on your router make and model. Your provider may even offer an online knowledgebase or forums to help troubleshoot WPS.
So use your newfound WPS knowledge to start connecting devices seamlessly. And never again be daunted when you look at that obscure little button on your router!
Frequently Asked Questions About WPS
Here we’ve compiled some frequently asked questions about WPS buttons and how to use them – handy to reference if you have any uncertainties!
What is the WPS button on my router?
The WPS button enables Wi-Fi Protected Setup on your router, allowing push-button connections between the router and devices like laptops, PCs, or printers. Pushing this button activates WPS mode for easy device setup.
Why is the WPS light flashing on my router?
A flashing WPS light indicates the router has entered WPS standby mode after the WPS button was pressed. It is ready to connect with devices using the WPS protocol while the light flashes.
Do all routers have WPS?
Most modern wireless routers have WPS capabilities and include a WPS button. But some budget or older routers may lack WPS support. Check your router’s documentation to confirm WPS compatibility.
Where can I find the WPS button on my wireless router?
The WPS button can be found in different locations depending on the router model. Common spots are on the rear, side, top, or front face of the router casing. The button may be subtly marked.
How long do I hold the WPS button?
In most cases, pressing the WPS button for 1-3 seconds suffices. Some routers may require holding for 3-5+ seconds to properly activate WPS mode. Check your router’s documentation.
Can I use WPS if my router does not have a physical button?
Yes, you can still utilize WPS on routers without a dedicated button. The virtual WPS options in the router firmware can activate PBC or PIN modes instead.
Is WPS a security risk?
WPS is generally secure when used properly, but does have some vulnerabilities. Disable WPS when not adding devices, use unique router passwords, and update firmware regularly to stay protected.
- pfSense 10G Home Lab Setup: Complete Hardware Guide (2026) - April 1, 2026
- Best Budget Home Lab Setup Under $300 (2026): Complete Starter Stack - March 30, 2026
- Best Modems for Spectrum: Top DOCSIS 3.1 Picks That Actually Work - March 28, 2026