Experiencing the frustration of Wifi Connected But No Internet? This common issue can be caused by various factors, such as router malfunctions, ISP outages, or incorrect DNS settings. Fear not, as we’re about to dive into simple fixes like rebooting your router, checking for outages, and tweaking settings to get you back online.
Stay tuned for easy-to-follow solutions that promise to tackle this common headache.
Key Takeaways
- 💡 Common causes for “Wifi Connected But No Internet” include ISP outages, modem/router issues, and incorrect network settings.
- 🔄 Simple fixes like rebooting devices and checking ISP status can often resolve connectivity problems.
- 🔒 Disabling proxy, VPN, and security software temporarily might restore internet access.
- 🌐 Ensuring correct IP and DNS settings are essential for a stable internet connection.
- 🔧 Accessing router settings to verify permissions and configurations can help eliminate connectivity barriers.
- 💻 Resetting network settings through Command Prompt commands can be a powerful solution for persistent problems.
- 🛠️ Windows Network Troubleshooter can automatically resolve many common connection issues.
- 🏭 Factory resetting your router and modem should be considered a last resort.
- 📞 Contacting your ISP is advisable if none of the troubleshooting steps work.
- 🛡️ Preventative measures include keeping router firmware updated and securing your network with a strong password.
Reasons for “WiFi Connected But No Internet Connection” Problems
Before we start with the solutions, let’s understand some common reasons that might cause this issue:
- Internet provider outage in your area
- Modem or router problems
- Incorrect network permissions
- Network settings conflict
- Incorrect DNS server settings.
- Proxy, VPN, or security software interference
- Malware or viruses
See also:
- Fix Ethernet Connected But No Internet Access
- How to Fix the “DNS Probe Finished No Internet” Error?
Troubleshooting Steps for “WiFi Connected But No Internet Connection”
Step 1: Isolate the problem and, if required, Reboot Your Affected Devices
Before moving to more complex troubleshooting methods, try these simple steps:
- Isolate the problem: Check if other devices, for example, your phone, iPad, another computer, etc., on your WiFi network are working and can connect to the Internet. Try opening a webpage on the browser or streaming a YouTube video on those devices.
- Reboot Your Affected PC: This can resolve temporary glitches and fix network connection issues.
- Reboot Your Modem and Router: Unplug them from their power sources, wait for a minute, plug in the modem first, wait for it to fully restart, and then plug in the router. Check if your devices are connected again after a few minutes.
Check out A Simple Guide to Ethernet Switch vs Hub vs Router and How They Work , to understand the difference between different network devices.
Step 2: Check Your ISP’s Status
There could be an internet provider outage in your area. To confirm, you can:
- Visit the customer-facing website or social media pages of your internet service provider for any outage notifications.
- Use external resources like Down Detector or the Thousand Eyes Outages Map to check for aggregated outage data.
- Reach out to your provider’s customer support if no outage information is found.
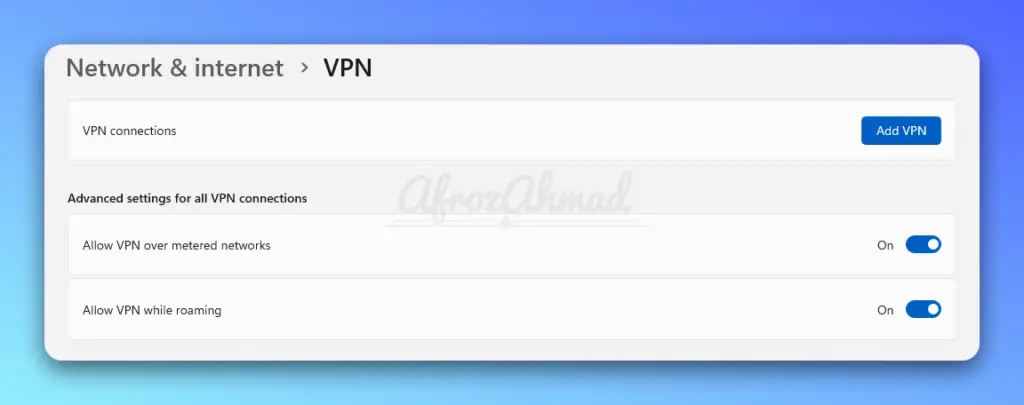
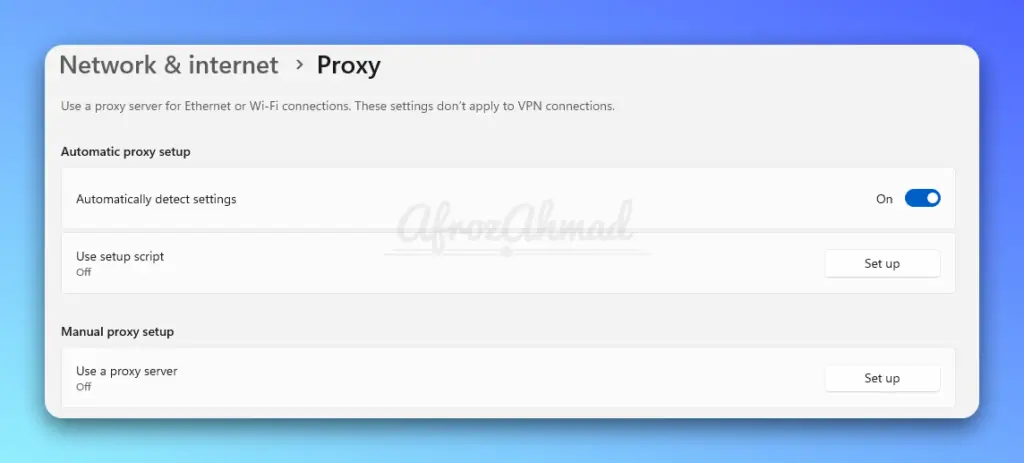
Step 3: Disable Proxy, VPN, and Security Software
Both Proxy, VPNs, and some security software can interfere with network connections. Therefore:
- Temporarily disable any active Proxy, VPN connections, and third-party antivirus applications.
- After disabling, check if your connection is restored.
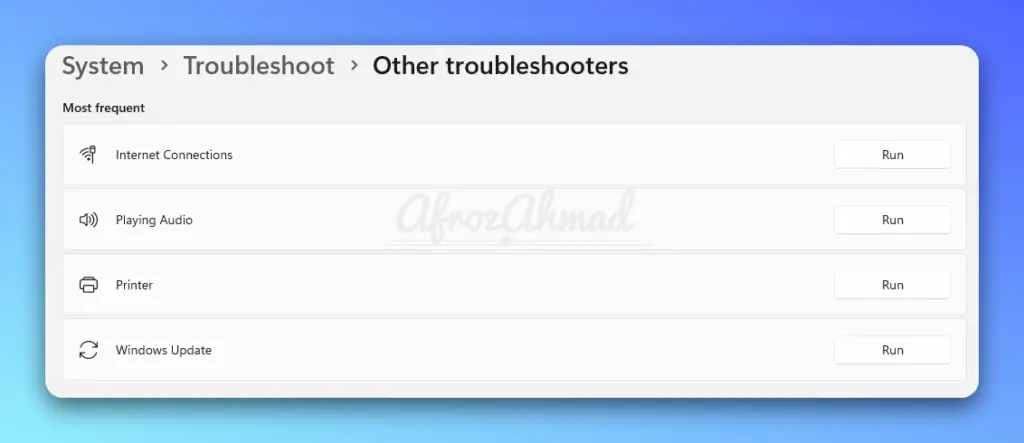
Step 4: Run the Windows Network Troubleshooter
Windows has a built-in network troubleshooter that can automatically detect and fix common network connection problems.
To run it on Windows 10:
- Go to Settings > Network & Internet > Status
- Click on “Network troubleshooter” and follow the prompts provided.
On Windows 11:
- Settings > System > Troubleshoot
- Other troubleshooters > Internet Connections and follow the prompts.
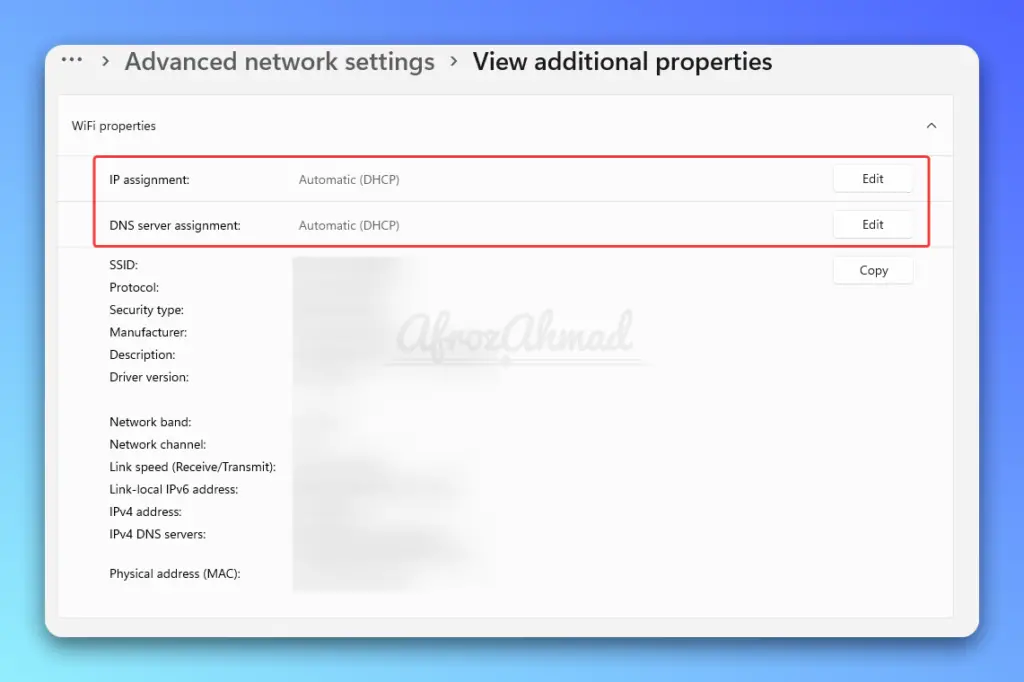
Step 5: Review IP Settings
Make sure that your IP settings are configured correctly:
- For Windows 10,
- navigate to Settings
- > Network & Internet
- > Status
- > Change adapter options. Double-click on the connection you’re using, locate “Internet Protocol Version 4” and ensure that “Obtain an IP address automatically” and “Obtain DNS server address automatically” are selected.
- For Windows 11,
- open Settings and go to Network & Internet
- > Advanced network settings and select your network connection. Choose “View additional properties” and verify that “Obtain an IP address automatically” and “Obtain DNS server address automatically” are selected.
Step 6: Access your Home Router and Verify Router Permissions
If necessary, check your router settings to ensure that no MAC address filtering or any other security feature is interfering with your connection. Access your router’s management console and make sure these additional security features are disabled or not denying service through an unintended rule.
Accessing your router’s management console or administrative interface allows you to modify the router’s settings, including your Wi-Fi network name, password, and other network preferences. The specific steps can vary depending on the router model and manufacturer, but the process is generally similar across different routers.
Follow these steps:
- Connect to your network: You must be connected to your router’s network to access its management console. You can connect either through Wi-Fi or using an Ethernet cable.
- Find your router’s IP address: This is typically a string of numbers separated by periods (e.g., 192.168.1.1). The exact IP address can vary based on your router model and network configuration.
- In Windows, you can usually find this by opening Command Prompt and typing
ipconfig, then looking for the “Default Gateway”. - On Mac, you can go to System Preferences > Network > Advanced > TCP/IP and look for “Router”.
- In Windows, you can usually find this by opening Command Prompt and typing
- Enter the IP address into your web browser: Open a web browser on your device and type in the router’s IP address into the address bar, then hit Enter.
- Log in: You’ll be prompted for a username and password. If you haven’t changed these from the factory defaults, you can usually find the default login information in your router’s manual or on a sticker on the router itself. If you can’t find this information, a quick web search with your router’s model name should help.
- Navigate the console: Once logged in, you can change various settings related to your network. Be careful, as making incorrect changes can cause your network to stop working. It’s a good idea to document any changes you make so you can revert them if necessary.
Remember, every router is different. While these general steps will apply to many routers, yours might be a little different. If in doubt, consult your router’s user manual or the manufacturer’s website.
Step 7: Reset Network Settings
If you’re still facing connectivity issues, resetting your network settings can help. Execute the following commands one by one in the Command Prompt (run as administrator) on your Windows-based computer:
netsh winsock reset: This command resets the Winsock catalog back to the default (or clean) state. After running this command, you should see a message indicating that the reset was successful and that you need to restart your computer.ipconfig /release: This command releases the current IP configuration. You’ll see that all the IP-related information (like IP address, subnet mask, etc.) becomes blank.netsh int ip reset: This command resets IP settings. If you’re using IPv4, you’ll see a series of reset messages. If you’re using IPv6, you’ll see a message saying that the reset command is available only for IPv4.ipconfig /renew: This command renews the DHCP configuration. If you’re connected to a network, the system will request a new IP address and other details from the DHCP server, and you’ll see this new information in the console.ipconfig /flushdns: This command flushes and resets the contents of the DNS client resolver cache. After running this command, you’ll see a message that the DNS resolver cache was successfully flushed.
After executing these commands, reboot your PC and check if your internet connection is restored.
Step 8: Factory Reset Router and Modem
As a last resort, if all devices in your home are unable to connect, you can reset your router and modem to factory defaults.
This can be done either physically using the reset button on the devices or via the device interface.
Step 9: Contact Your ISP
If you’ve tried everything and still don’t have internet access, your ISP might be experiencing problems. Give them a call.
See also: Fix WiFi Not Working on iPhone But Working on Other Devices
Preventative Measures to Avoid “Wifi Connected But No Internet Issue”
It’s better to prevent an issue than fix it. Here are some preventative measures:
A. Keep the Firmware/Software on Your Router Up-to-Date
Routers often receive updates that improve security and performance. Check regularly for updates and apply them. You can log in to your home router (steps mentioned above) and check if it is showing any update.
B. Secure Your Network with a Unique and Complex WiFi Password
A unique and complex WiFi password prevents unauthorized access that might interfere with your network.
C. Avoid Interference with Other Devices
Certain devices like cordless phones or microwaves can interfere with your wifi signal. Try to keep your router away from these devices.
D. Use a Wired Connection (Ethernet)
A wired connection can provide a more stable and faster connection than a wireless one.
What Are the Possible Causes of Ethernet Connection But No Internet Access?
When troubleshooting ethernet connected but no internet access issues, there can be several potential causes. It could be due to a faulty Ethernet cable, outdated network drivers, incorrect DNS settings, or a problematic network adapter. Inspecting these factors thoroughly and making necessary adjustments can help resolve the issue and restore internet connectivity.
Can a Blinking Green Cox Router or Modem Cause Wifi Connectivity Issues?
If you’re experiencing wifi connectivity issues, a blinking green Cox router could be the culprit. To troubleshoot, first, check the power source and ensure the connections are secure. If the issue persists, consult the user manual or contact Cox customer support for further assistance. Or you can check our cox router blinking green light troubleshooting guide for more info.
Conclusion
If none of the above steps resolve your internet connectivity issue, reach out to your internet provider for support or consider seeking professional assistance. Network issues can have various causes, and more extensive troubleshooting might be needed.
By following this guide systematically, you’re likely to fix the “connected but no internet” issue. Regular proactive measures to maintain your network’s health can prevent such problems from arising in the future.
- pfSense 10G Home Lab Setup: Complete Hardware Guide (2026) - April 1, 2026
- Best Budget Home Lab Setup Under $300 (2026): Complete Starter Stack - March 30, 2026
- Best Modems for Spectrum: Top DOCSIS 3.1 Picks That Actually Work - March 28, 2026